Preparing a wooden fence properly before applying stain protects the wood, ensures even color, and extends the life of the finish. This guide outlines a practical, step‑by‑step approach using common tools and products available in American hardware stores.
Quick Answer
Clean and brighten the wood to remove dirt, mold, and oils. Rinse thoroughly and let the surface dry completely before applying stain. Use a pressure washer on a gentle setting, a wood fence cleaner concentrate, and a mildew remover for best results. Finish with a fence cleaning brush and an adjustable spray nozzle to control the rinse.
What You’ll Need
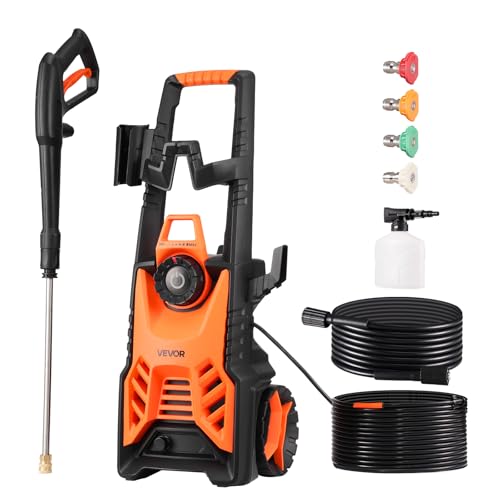
- Electric pressure washer for fence cleaning
- Wood fence cleaner concentrate for staining prep
- Fence cleaning brush nylon bristles
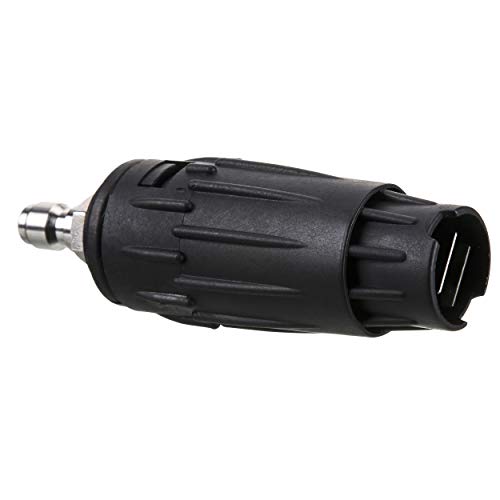
- Adjustable spray nozzle for pressure washer fence
- Mildew remover for wooden fence pre stain

Before You Start
Inspect the fence for loose boards, nails, or rot. Repair any damage before cleaning. Protect nearby plants, outlets, and landscaping with plastic sheeting. Test a small, inconspicuous area to gauge the cleaner’s effect on the wood. Plan for a dry period of 24–48 hours after cleaning to ensure the wood is fully dry before staining. Wear eye protection and gloves when handling chemicals and the pressure washer.
Step-By-Step: How To Clean Fence Before Staining
- Clear the area around the fence and remove obstacles that could obstruct cleaning.
- Mix the wood fence cleaner concentrate according to the product label to create a suitable cleaning solution.
- Apply the cleaner evenly with a brush or sprayer, paying attention to shaded areas where mold may grow.
- Let the solution dwell for the recommended time, typically 5–15 minutes, to loosen dirt and mildew.
- Use the fence cleaning brush with nylon bristles to scrub stubborn spots without damaging the wood grain.
- Rinse from the bottom up using the pressure washer on a low to moderate setting to avoid gouging the wood.
- Apply mildew remover to any persistent mold or mildew, following the product instructions and safety guidelines.
- Allow the fence to dry completely, which may take 24–48 hours depending on weather and airflow.
Troubleshooting
| Symptom | Likely Cause | Fix | Prevention |
|---|---|---|---|
| Wood appears gray and dirty after cleaning | Insufficient cleaning or rinse | Re-apply cleaner and rinse thoroughly | Clean with consistent technique and reach all surfaces |
| Staining looks blotchy after applying | Uneven drying or surface contamination | Re-clean and allow full dry time | Check moisture level and dry weather before staining |
| Bleach-like whitening on wood | Over-application of cleaner or incorrect product | Rinse immediately and dilute next time | Follow label directions precisely |
| Pressure washer losing pressure | Clogged nozzle or hose | Clean nozzle and check hose; replace if needed | Regular maintenance and guard against kinks |
Common Mistakes
- Cleaning when wood is wet or damp, which slows drying and can trap moisture
- Using a high pressure setting that gouges soft wood
- Skipping a moisture check, leading to premature staining
- Not protecting plants or outdoor surfaces near the fence
Tips For Best Results
- Test stain compatibility on a small area and allow to dry to ensure color match.
- Work with the sun at your back and avoid staining in direct heat or afternoon glare.
- Rinse from bottom to top to prevent dirty water from running onto cleaned sections.
- Consider a dedicated mildew remover for problem areas and re-inspect after drying.
Call A Professional
Seek professional help if the fence has extensive rot, structural damage, or persistent mildew that resists standard cleaners. Stop work and consult a pro if you notice warped boards, loose nails, or safety hazards that require equipment or structural repair.
FAQ
Is it necessary to use a pressure washer for fence cleaning?
A pressure washer speeds up cleaning and helps remove embedded dirt, but a stiff brush and garden hose can work for smaller fences or sensitive wood.
How long should I wait after cleaning before staining?
Allow the wood to dry completely, usually 24–48 hours, depending on weather and ventilation.
Can I stain right after using mildew remover?
Yes, but follow the product label. Ensure the wood is dry and neutralized if required by the mildew remover instructions.
Will cleaning with a concentrate harm the wood finish?
When diluted correctly and applied as directed, concentrates are safe. Always pretest on a hidden area.
What maintenance follows staining?
Re-clean lightly every 1–3 years and reapply stain as needed to maintain protection and color.
Buying Guide
When choosing tools and products to clean a fence before staining, consider size, effectiveness, and ease of use. Key factors include:
- Size and reach: A compact pressure washer is easier for small fences, while larger projects benefit from models with longer hoses and adjustable spray patterns.
- Noise level: Look for models with lower decibel ratings for residential settings and early morning cleanups.
- Energy efficiency: Electric pressure washers typically use less energy and are easier to maintain than gas-powered units.
- Controls and features: An adjustable spray nozzle helps protect wood by moderating pressure. A built-in detergent tank simplifies cleaner application.
- Cleaner compatibility: Choose a wood fence cleaner concentrate formulated for staining prep to ensure proper cleaning without harming wood fibers.
- <bPlacement and safety: Position the fence and washer so the spray angle minimizes splash onto plants and soil; wear protective gear at all times.
Considering these factors helps ensure a smooth process, from cleaning to staining. Do you prefer a quick spray-and-clean approach or a more involved method with scrubbing for stubborn areas?