Hood filters play a crucial role in keeping kitchen air clean by trapping grease and smoke from cooking. Regular cleaning maintains performance, reduces cooking smells, and extends the life of the range hood. This guide walks through practical methods, using common tools and purpose-built cleaners to restore filters to like-new condition.
Quick Answer
What to use: a degreaser spray, filtering brushes, and a scrub sponge. For tougher buildup, an at-home cleaning kit with degreaser works well. Do not skip rinsing and thoroughly drying before reinstalling.
What You’ll Need
- Stainless steel range hood filter cleaning brush or a universal hood filter brush
- Oven hood filter cleaning kit with degreaser
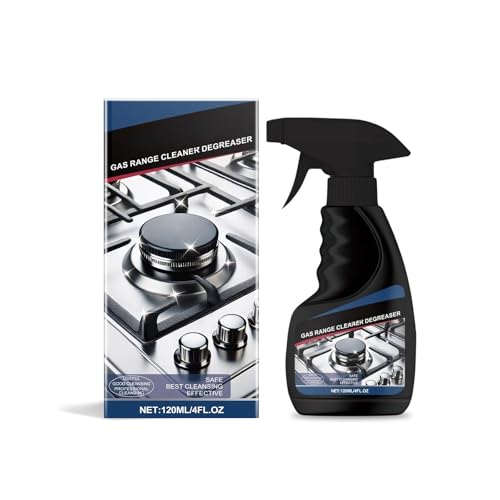
- Range hood filter degreaser spray 16 oz
- Universal hood filter brush and scrub sponge
- 30 inch range hood filter cleaning kit


Before You Start
Turn off the range hood and ensure the filters and hood are cool to touch. Remove filters according to the hood model’s manual. Work in a well-ventilated area to avoid inhaling fumes. Wear gloves to protect skin from caustic cleaners. Time estimate: 20–40 minutes for a single filter, longer for heavily encrusted filters. Important: avoid using abrasive tools on delicate finishes to prevent scratches.
Step-By-Step: How To Clean Hood Filters
- Remove the filters from the hood following the manufacturer’s instructions, and lay them on a protective surface.
- Pre-rinse under warm running water to loosen loose grease before applying cleaner.
- Apply degreaser generously using the range hood filter degreaser spray or the oven hood filter cleaning kit with degreaser.
- Let sit for 5–10 minutes to break down stubborn grease; avoid letting cleaner dry on the metal.
- Scrub with brushes using the stainless steel range hood filter cleaning brush or the universal hood filter brush. Focus on corners and tab areas where buildup hides.
- Scrub with sponge to lift remaining residue; wipe in the direction of the metal grain to avoid scratching.
- Rinse thoroughly with warm water until all cleaner and grease are removed; repeat if necessary.
- Dry completely with a clean towel or air dry before reinstalling to prevent mold.
- Inspect for damage check for warping, tears, or holes. Replace filters if compromised.
- Reinstall the clean, dry filters back into the hood following the manual’s steps.
- Optional refresh for metal finishes: wipe with a soft, dry microfiber to restore shine and reduce fingerprints.
- Schedule regular cleaning every 1–3 months depending on cooking frequency and oil usage.
Troubleshooting
| Symptom | Likely Cause | Fix | Prevention |
|---|---|---|---|
| Grease remaining after cleaning | Insufficient contact time or brute-force buildup | Reapply degreaser and scrub with bristle brush | Pre-clean daily splatter and wipe down |
| Filter off-color or pitting | Harsh cleaners or prolonged exposure | Switch to milder cleaner; avoid chlorine-based products | Rotate cleaners and follow manufacturer guidance |
| Filter warping after soaking | Over-soaking or improper drying | Limit soak time; dry completely before reinstall | Use warm water and air-dry in a flat position |
| Rim or seal detaching | Excessive scrubbing or old adhesive | Gently scrub; replace if loose | Handle with care; avoid metal-edge contact |
Common Mistakes
- Using abrasive pads that scratch stainless steel
- Letting cleaner sit too long and causing discoloration
- Skipping thorough drying, which invites mold and odor
- Not removing filters completely for cleaning, leaving hidden grease
Avoid these missteps by following kit instructions closely and handling filters with care.
Tips For Best Results
- Choose a degreaser that’s appropriate for stainless steel to prevent staining.
- Warm rather than hot water helps dissolve oil without warping filters.
- Regular maintenance reduces deep-clean time and extends filter life.
- If you notice persistent odor, wipe the hood interior and fan blades as well.
- Rotate between multiple brushes and sponges to avoid cross-contamination of residues.
Call A Professional
Contact a professional if filters are severely warped, torn, or if cleaning reveals compromised structural integrity. Seek expert help immediately if there is visible rust, persistent odors after cleaning, or electrical concerns within the hood assembly.
FAQ
How often should I clean hood filters?
Most households benefit from cleaning every 1–3 months, depending on cooking frequency and oil buildup.
Can I use bleach to clean hood filters?
Avoid chlorine-based cleaners on metal filters; they can corrode finishes. Use milder degreasers designed for stainless steel.
Are there filters I should replace rather than clean?
Yes—if filters are warped, torn, or heavily clogged beyond cleaning, replacement is recommended for optimal performance.
Do I need to remove the hood itself for deep cleaning?
Usually not, but some models benefit from a gentle interior wipe-down and fan‑blade inspection during a thorough maintenance session.
Buying Guide
When selecting hood filter cleaning tools and kits, consider size compatibility with your range hood, cleaning power, and ease of use. Look for a cleaning kit that includes a proven degreaser and durable brushes that reach tough grease without scratching metal. If your hood is 30 inches wide, confirm the kit accommodates your filter size and mounting style. Noise level and energy efficiency are less applicable to cleaning tools, but select products with non-abrasive bristles and non-corrosive cleaners to preserve filter integrity. For placement, store cleaning supplies near the kitchen for quick access after cooking, yet away from heat sources.