Vinyl windows are a common sight in American homes due to their durability and low maintenance. This guide explains a clear, step-by-step method to restore sparkle to vinyl panes without risking scratches or damage. By following practical tips and using the right tools, homeowners can achieve streak-free results with minimal effort.
Whether you’re refreshing a single pane or tackling a whole house, the techniques below aim for efficiency and safety while keeping the finish looking like new.
Quick Answer
Best starting approach: dust and dry-wipe first, then use a mild cleaning solution and a soft cloth or microfiber. For stubborn grime, employ a non-scratch plastic window scraper and rinse with clean water. Finish with a squeegee or microfiber dry wipe to avoid water spots.
What You’ll Need
- Vinyl window squeegee with soft rubber blade
- Extension pole window cleaning kit for vinyl windows
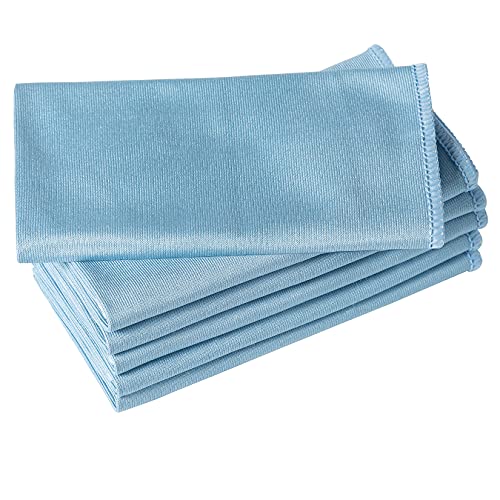
- Microfiber window cleaning cloths for vinyl windows
- Non-scratch plastic window scraper for vinyl windows
- Window cleaning kit with spray bottle and brush head


Before You Start
Prepare the area by removing heavy furniture away from windows and laying down a drop cloth if cleaning from inside. Test a small, inconspicuous area first to ensure the cleaning solution does not affect the vinyl finish. Work on a cool, cloudy day to prevent rapid drying and streaks. Time: about 30–60 minutes for a standard window; adjust for larger homes.
Safety notes: wear gloves if you have sensitive skin and ensure ladders are stable when cleaning high windows. Avoid abrasive materials that can scratch vinyl surfaces.
Step-By-Step: How To Clean Vinyl Windows
- Dust the frame and sill with a dry microfiber cloth to remove loose dirt and prevent grinding it into the vinyl during cleaning.
- Prepare a gentle cleaning solution mix a small amount of mild dish soap with warm water in the spray bottle. Avoid strong solvents that can degrade vinyl.
- Apply solution and wipe spray onto the glass and frame, then wipe with a microfiber cloth in a circular motion to lift grime.
- Scrape stubborn spots carefully use the non-scratch plastic window scraper for spots like paint flecks or sticky residue. Hold scraper at a low angle and move slowly to avoid scratches.
- Rinse with clean water wipe to rinse away soap residue, keeping the cloth damp but not dripping. Use the extension pole kit for hard-to-reach panes to avoid overreaching.
- Dry with a squeegee start at the top and pull downward in a straight line, wiping the rubber blade after each pass to prevent streaks.
- Final wipe and inspect go over corners and edges with a microfiber cloth to catch any remaining moisture or fingerprints.
- Repeat as needed for additional panes, reloading your cloths and solutions as necessary to keep the surface clean and streak-free.
Troubleshooting
| Symptom | Likely Cause | Fix | Prevention |
|---|---|---|---|
| Streaks after cleaning | Residue or improper drying | Rinse thoroughly and dry with a clean microfiber cloth or squeegee | Use a lint-free cloth and avoid using very hard water |
| Scratches appear | Abrasive tools or rough scrubbing | Switch to non-scratch plastic scraper; use gentle motions | Avoid rough sponges and harsh chemicals |
| Cloudy or hazy appearance | Residue left behind | Re-wipe with fresh cleaning solution and dry cloth | Rinse completely before drying |
| Frames discolored | Chemicals reacting with vinyl | Use milder solution and rinse well | Test patch first and stay within recommended cleaners |
Common Mistakes
- Using abrasive brushes or scouring pads on vinyl frames
- Over-wetting the window, which can seep behind seals
- Cleaning in direct sunlight, which causes rapid drying and streaks
- Using ammonia-based cleaners that may damage coatings
Instead, opt for soft tools, moderate moisture, and a non-abrasive cleaner designed for vinyl surfaces.
Tips For Best Results
- Work from top to bottom to manage gravity and prevent drips from landing on freshly cleaned areas.
- Keep tools clean: rinse cloths frequently to avoid spreading grime.
- For ultra-clear panes, finish with a microfiber dry wipe at the very end.
- Label and store cleaning supplies in a dedicated area to streamline future cleanings.
Call A Professional
Consider professional help if window panes are heavily etched, there are large areas of discoloration, or frames are damaged. Seek a pro if glass has deep cracks, seals are compromised, or if you lack safe access to exterior windows.
FAQ
What is the best cleaner for vinyl windows?
A mild soap solution with warm water works well for most vinyl windows, paired with a microfiber cloth.
Can I use a window scraper on vinyl windows?
Yes, a non-scratch plastic window scraper is recommended for tough spots.
Should I clean vinyl windows from inside or outside?
Both, depending on access. Start inside to minimize exposure to weather and finish outside when needed.
How often should vinyl windows be cleaned?
Typically every 3–6 months, or as dirt accumulates in your area.
Buying Guide
Choosing the right tools can improve efficiency and results when cleaning vinyl windows. Consider size, noise, energy efficiency, controls, and placement to tailor a kit to your home.
Size and reach: An extension pole window cleaning kit for vinyl windows helps reach high or wide panes without ladders, making interior and exterior work safer and faster.
Cleaning tools: A vinyl window squeegee with soft rubber blade minimizes streaks. Microfiber window cleaning cloths for vinyl windows trap dirt effectively without scratching surfaces.
Scraping and scrubbing options: A non-scratch plastic window scraper for vinyl windows can handle stubborn spots without damaging the finish, while a window cleaning kit with spray bottle and brush head provides versatility for overall cleaning.
Maintenance and storage: Keep tools clean and dry after use; store spray bottles upright to prevent leaks.
Placement and usage: Plan cleaning around sun exposure, which can cause rapid drying and streaks. Use a two-cloth method—one damp, one dry—for best results.