Cleaning tomato seeds is a practical skill for home growers who want to save seeds from plentiful heirloom or open-pollinated varieties. The process involves fermenting the fruit slurry to remove gelatinous coatings, then washing, drying, and storing the seeds properly. This guide outlines a straightforward method using common tools and a dedicated seed cleaning kit to achieve reliable results.
Quick Answer
Ferment tomato seeds to loosen the gel coating, rinse with a fine mesh strainer, pat dry with cheesecloth or seed drying supplies, and dry completely on a seed drying rack before storing in a labeled container.
What You’ll Need
- Tomato seed cleaning kit with fermentation jar
- Fermentation jar for tomato seeds
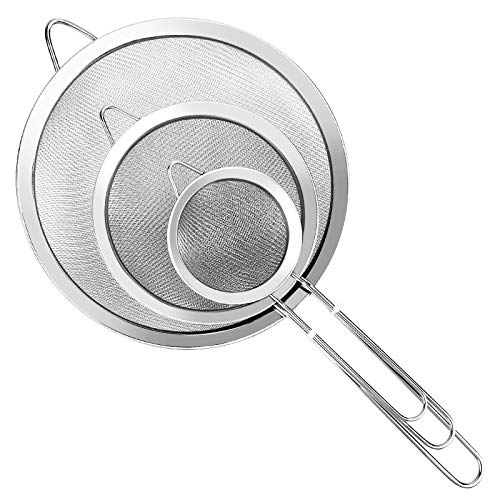
- Fine mesh strainer for tomato seed cleaning
- Cheesecloth seed drying bag for tomato seeds
- Seed drying rack for tomato seeds
- Clean, dry storage jars or envelopes


Before You Start
Choose disease-free fruit and label seeds by variety. Wash your hands and sanitize tools if possible. Work in a clean area with good air circulation. Allow several days for fermentation, plus 1–2 days for drying. Avoid harvesting seeds from diseased fruit or varieties with strong cross-pollination, which can affect germination. Plan for a total time of about 3–7 days depending on climate and room temperature.
Step-By-Step: How To Clean Tomato Seeds
- Remove seeds: Cut ripe tomatoes and scoop seeds with surrounding gel into the fermentation jar.
- Add water: Add lukewarm water to cover the seeds and gel completely; stir gently to mix.
- Ferment: Loosely cap the jar and let it ferment at room temperature for 24–72 hours, until a foamy layer forms on top and the gel separates.
- Stir and monitor: Gently stir once a day to promote uniform fermentation and prevent mold.
- Initial rinse: Pour contents through the fine mesh strainer to separate seeds from pulp.
- Rinse thoroughly: Rinse seeds under cool running water in the strainer until the water runs clear.
- Dry in a bag: Transfer seeds to a cheesecloth seed drying bag or spread on a clean surface. If using a bag, squeeze to remove excess moisture without crushing seeds.
- Lay out to dry: Place the bag or seeds on a seed drying rack in a dry, well-ventilated area away from direct sun.
- Check dryness: After 2–7 days, seeds should be hard, dry, and rattling inside the bag or container. If not, continue drying until fully dry.
- Store seeds: Label storage jars or envelopes with variety and harvest date. Keep in a cool, dark place for best viability.
- Record keeping: Note any observations about germination and vigor for future crop planning.
Troubleshooting
| Symptom | Likely Cause | Fix | Prevention |
|---|---|---|---|
| Mold on ferment | Overly humid environment or long fermentation | Shorten fermentation time; increase airflow | Keep jar loosely covered and in a cool, dry spot |
| Seeds feel brittle after drying | Overdrying or crushing during handling | Handle gently; ensure airflow but avoid direct sun | Check moisture before final storage |
| Pulp residue remains with seeds | Insufficient rinsing | Rinse thoroughly through fine mesh strainer | Rinse in multiple passes until clear |
| Discolored seeds | Fermentation was too long or spoiled material | Discard affected seeds; restart with fresh fruit | Monitor fermentation closely |
| Poor germination | Hybrid seeds or improper drying | Use only open-pollinated varieties; ensure complete drying | Keep seeds dry and labeled |
Common Mistakes
- Using seeds from hybrids or diseased fruit
- Skipping the fermentation step or rushing drying
- Drying seeds in direct sunlight or high heat
- Not labeling containers clearly, leading to confusion next season
Careful attention to each step helps preserve seed viability and vigor for future planting.
Tips For Best Results
- Keep a consistent room temperature during fermentation to avoid slow or uneven processing.
- Use gloves or sanitized utensils to reduce contamination risk during handling.
- If you have a large harvest, batch seeds in multiple jars to maintain airflow and prevent odor buildup.
- Store dried seeds in airtight containers with a desiccant packet or rice to absorb residual moisture.
- Test germination of a small seed sample before planting a full crop.
Call A Professional
Contact a local seed company or extension service if you notice persistent mold, unusual odors, or think fruit quality is compromised. Seek professional help when dealing with suspected seed-borne diseases, or if you need guidance on conserving rare tomato varieties.
FAQ
Can I ferment seeds from any tomato variety?
Fermentation works best with open-pollinated varieties and heirlooms; hybrids may have inconsistent germination.
How long should fermentation last?
Typically 24–72 hours at room temperature, depending on climate and the amount of gel coating.
Do I need to dry seeds completely before storing?
Yes. Seeds should be fully dry to prevent mold and preserve viability.
What if I see mold on seeds after drying?
Discard affected seeds and review sanitation and drying conditions to avoid recurrence.
Buying Guide
Choosing the right tools for tomato seed cleaning helps ensure consistent results and easier post-harvest handling. Consider the following factors:
- Size and capacity: For home gardens, a compact fermentation jar and seed drying setup handle moderate harvests; larger projects may benefit from bigger jars and drying racks.
- Noise level: Manual fermentation and drying are quiet; avoid noisy equipment if you prefer a peaceful workspace.
- Energy efficiency: Rely on passive air-drying and ambient temperatures rather than powered dryers to save energy.
- Controls: Simple jars with loose lids provide adequate fermentation control; consider strainers with fine mesh for thorough rinsing.
- Placement: A well-ventilated, dry area away from direct sunlight preserves seed quality and reduces mold risk.
When comparing kits and accessories, assess how well they integrate into your workflow. A complete tomato seed cleaning kit with fermentation jar, fine mesh strainer, cheesecloth drying bag, and seed drying rack offers a cohesive setup that minimizes transfers and speeds up processing. If you already own some pieces, evaluate compatibility with your current storage methods and space.