Proper cleaning of nail drill bits is essential for hygiene, performance, and longevity. This guide walks through safe, effective methods using common tools and sanitizers to keep bits in peak condition while protecting clients and technicians.
Quick Answer
For quick, effective cleaning: rinse bits with warm water, scrub with a cleaning brush, soak in a dedicated nail drill bit cleaning solution or isopropyl alcohol, rinse again, dry completely, and sterilize if possible. Use an ultrasonic cleaner for tough debris and store in a nail drill bit sterilizer cabinet when not in use.
What You’ll Need
- Ultrasonic cleaner for nail drill bits
- Nail drill bit cleaning brush set
- Isopropyl alcohol wipes for nail drill bits
- Nail drill bit cleaning solution and sanitizer
- Nail drill bit sterilizer cabinet


Before You Start
Prepare a clean, uncluttered workspace. Wear gloves to protect skin and safety glasses to shield eyes from splashes. Confirm that the drill bits are completely cool before handling. Time estimates vary: basic cleaning can take 5–10 minutes per set, while deep cleaning with an ultrasonic cleaner may take 15–30 minutes including drying. Do not mix cleaning chemicals with incompatible products.
Step-By-Step: How To Clean Nail Drill Bits
- Remove bits from the handpiece and rinse under warm running water to remove loose debris.
- Wipe each bit with an isopropyl alcohol wipe for a quick surface clean, paying attention to the flutes and edges.
- Prepare a gentle cleaning solution or use the nail drill bit cleaning solution and sanitizer as directed by the product label.
- Soak the bits in the cleaning solution for the recommended time to loosen contaminates without damaging coatings.
- Place the bits in an ultrasonic cleaner for deeper cleaning, following the device instructions for water temperature and cycle length.
- After cleaning, rinse bits thoroughly with clean water to remove any residue from cleaner or sanitizer.
- Dry each bit with a lint-free cloth or air dry on a clean surface until completely dry.
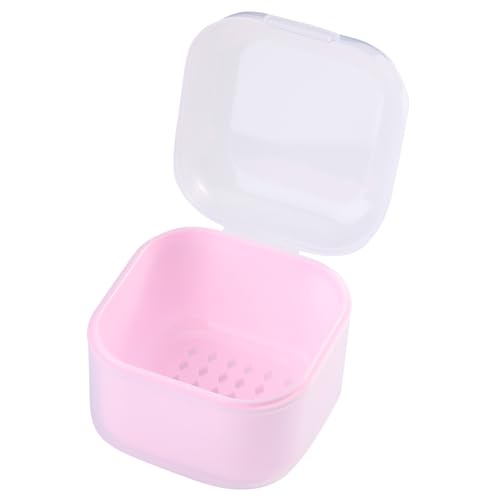
- Store dry bits in a nail drill bit sterilizer cabinet or a sealed container to prevent recontamination.
- Inspect bits for wear, corrosion, or dull edges. Replace any damaged bits to maintain safety and results.
- Wipe down the workstation and dispose of single-use wipes properly after use.
- Document cleaning times and rotate inventory to ensure older bits are cleaned and sterilized regularly.
- Schedule routine deep cleans and calibrations of the ultrasonic cleaner and sterilizer cabinet to maintain performance.
Troubleshooting
| Symptom | Likely Cause | Fix | Prevention |
|---|---|---|---|
| Bits look dull after cleaning | Residual debris or improper brushing | Re-clean with a brush and rinse; avoid harsh abrasives | Use a proper brush set and gentler cleaning solutions |
| Bits show rust or corrosion | Exposure to moisture or incompatible cleaners | Dry thoroughly; replace if corrosion is extensive | Always dry completely and store in a dry cabinet |
| Ultrasonic cleaner not removing grime | Too short cycle or low cleaning solution concentration | Increase cycle length or switch to a proven cleaner | Follow manufacturer guidelines for concentration |
| Drying takes too long | High humidity or blocked air circulation | Improve airflow and ensure bits are fully spaced during drying | Use drying rack and proper storage conditions |
Common Mistakes
- Using metal brushes that can scratch or dull the bit surfaces
- Rinsing with hot water immediately after sterilization, causing condensation
- Skipping drying, which invites bacteria growth or corrosion
- Using household cleaners not designed for medical or cosmetic tools
- Storing dirty bits in a common container, increasing cross-contamination risk
Tips For Best Results
- Match the cleaner to the bit material (ceramic, carbide, or steel) to avoid damage.
- Use the ultrasonic cleaner in a well-ventilated area and follow all safety instructions.
- Label storage containers with cleaning dates to track fresh maintenance cycles.
- Regularly inspect and replace worn or damaged bits to preserve hygiene and performance.
- Combine short daily cleanings with a weekly deep clean for best hygiene practice.
Call A Professional
Seek professional assistance if bits show deep corrosion, significant wear on flutes, or if the sterilization cabinet fails to maintain sterile conditions. Do not attempt to bypass safety features or use professional equipment improperly. If you are unsure about the compatibility of cleaners with your equipment, contact the manufacturer or a licensed technician.
FAQ
How often should nail drill bits be cleaned?
Clean after each use with a quick wipe, then perform a deeper clean on a regular schedule based on usage volume.
Can I clean carbide bits in an ultrasonic cleaner?
Yes, but follow the manufacturer’s recommendations for time and solution strength to avoid damage.
Is isopropyl alcohol suitable for all bit types?
Isopropyl alcohol is generally safe, but some coatings may require gentler cleaners; always check material guidance.
What should I do if corrosion appears on a bit?
Do not reuse corroded bits. Replace them and review storage and cleaning practices to prevent recurrence.
Should I sterilize bits after cleaning?
Yes, sterilizing after cleaning provides an extra layer of safety, especially for client-facing services.
How should I store clean drill bits?
Store dry bits in a dedicated nail drill bit sterilizer cabinet or antiviral storage to minimize contamination.
Buying Guide
When selecting tools and supplies for cleaning nail drill bits, consider factors like size and type of bits, the cleaning method, and storage options. A compact ultrasonic cleaner that fits common bit sizes is convenient, while a dedicated nail drill bit sterilizer cabinet offers controlled, low-humidity storage. Look for a cleaning solution labeled for carbide or ceramic bits to protect edge integrity. Noise level and energy use of appliances matter in a busy studio. Choose a workflow that minimizes handling and maximizes sanitization, and ensure compatibility between brushes, wipes, and solutions. If space is limited, opt for compact, multi-functional cleaning kits that include a brush set and sanitizer, avoiding clutter that can harbor bacteria.
Are you balancing speed and sanitation? Consider a bundle that includes an ultrasonic cleaner for deep cleaning, plus isopropyl alcohol wipes for quick touch-ups and a sterilizer cabinet for organized storage. Think about maintenance intervals and whether the system supports routine, non-disruptive cleaning during client appointments. By comparing factors such as size, noise, and placement, studios can design a dependable cleaning routine that protects both clients and technicians.