Headlight lenses can become cloudy from UV exposure, oxidation, and road grime, reducing nighttime visibility. This guide offers a practical, step-by-step method to restore clarity using common tools and specifically recommended products for American households.
Quick Answer
For best results, start with a cleaning solution to remove surface dirt, then sand with 1000 and 2000 grit paper, polish to remove oxidation, and finish with a UV sealant to protect the lens. Use a microfiber cloth to buff between steps and follow safety precautions throughout.
What You’ll Need
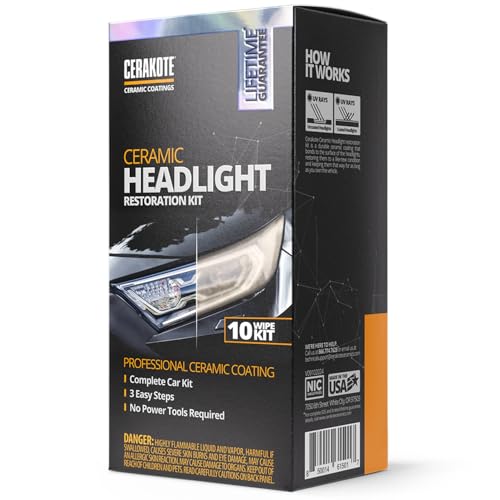
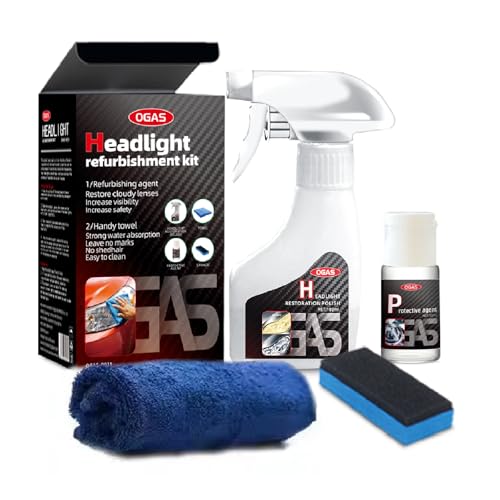
- Headlight restoration kit with sanding pads and polishing compound
- Plastic headlight lens cleaner polish kit
- Headlight UV sealant and clear coat for headlights
- Sandpaper assortment for headlight restoration 1000 2000 grit
- Microfiber cloths headlight cleaning kit

Before You Start
Prepare a clean, well-lit workspace and protect surrounding surfaces with painter’s tape or old newspapers. Wear safety glasses and gloves. A typical session takes 60–90 minutes per pair of headlights, but allow extra time for multiple passes or curing. Avoid using coarse grit papers beyond 2000 grit, which can scratch plastic deeply.
Step-By-Step: How To Clean Headlight Lens
- Clean the headlight surface with a plastic-safe cleaner to remove dirt and oils, then dry with a microfiber cloth.
- Mask the area around the headlights with tape to protect paint and trim.
- Attach the 1000 grit sandpaper to a sanding block and wet-sand the headlight in horizontal strokes, keeping the surface moist.
- Rinse, re-wet, and continue with the 1000 grit until the light is uniformly dull but free of heavy oxidation.
- Switch to 2000 grit sandpaper and repeat the wet-sanding process in vertical strokes to refine the surface.
- Apply the polishing compound from the restoration kit and buff with a clean microfiber cloth in circular motions until the lens looks clearer and smoother.
- Wipe away any residue, inspect for remaining haze, and repeat polishing if necessary.
- Apply the UV sealant or clear coat evenly, following the product’s drying time, and allow the sealant to cure fully before driving.
Troubleshooting
| Symptom | Likely Cause | Fix | Prevention |
|---|---|---|---|
| Lens remains hazy after polishing | Insufficient polishing or deeper oxidation | Repeat polishing with fresh compound and ensure thorough buffing | Clean regularly and reapply sealant as recommended |
| New scratches appear after sanding | Using too aggressive grit or dry sanding | Wet-sand with proper lubrication and stick to 1000–2000 grit | Use sanding block to prevent flat spots |
| Sealant won’t cure | Improper surface prep or high humidity | Re-clean lens, ensure dry surface, and apply in proper conditions | Follow product guidelines for temperature and humidity |
| White haze after drying | Contaminants or insufficient cleaning before sealant | Re-clean with microfiber cloth and re-apply | Work in a dust-free area |
Common Mistakes
- Skipping masking, leading to stained paint or trim
- Using commercial cleaners not designed for plastic
- Dry sanding or using coarse grit beyond 2000 grit
- Rushing the sealant curing phase
Correcting these mistakes can save time and produce longer-lasting results.
Tips For Best Results
- Always work with wet sanding to minimize heat build-up and scratches
- Keep the lens cool by pausing if it gets warm during sanding
- Use a fresh polishing pad for each headlight to avoid transferring residue
- Test a small area first to verify that the cleaner and sealant are compatible with your plastic lens
Call A Professional
Take professional action if:
- Headlights are severely oxidized or cracked
- Sealant fails to cure or peels after application
- Headlight channels or housing show signs of water intrusion or structural damage
In these cases, a trained technician can restore clarity and ensure the headlight assembly remains secure and weatherproof.
FAQ
What is the best grit sequence for headlight restoration?
A practical sequence is 1000 grit followed by 2000 grit to remove oxidation and smooth the surface before polishing.
Can I use household products to clean headlights?
Household cleaners with ammonia or abrasive compounds can harm plastic; use plastics-safe cleaners designed for headlight lenses.
How long does a UV sealant typically last?
Durability varies by product and driving conditions, but many sealants last several months with proper cleaning and maintenance.
Is it normal for headlights to look hazy again after rain?
Moisture and road grime can reintroduce haziness; re-clean and reapply sealant as needed.
Will this method work on all car models?
Most plastic lenses respond well, but check for signs of deep cracks or extensive yellowing that may require professional replacement.
Buying Guide
When selecting headlight restoration supplies, consider these factors to optimize results and ease of use.
Size and compatibility: Ensure the kit fits your headlight type and includes pads suitable for curved surfaces. For DIY enthusiasts, a complete kit with sanding pads and polishing compound offers versatility.
Noise level and ease of use: Some sanders produce more vibration; choose a kit with ergonomic handles and pre-cut sanding films to minimize fatigue.
Energy efficiency and drying: UV sealants require proper curing time and may benefit from a dedicated, climate-controlled space to ensure full hardening.
Controls and application: Look for kits with clear instructions, simple application steps, and a foolproof sealant system to avoid streaks or yellowing.
Placement and storage: Store sanding pads, polish, and sealants in a cool, dry place away from direct sunlight to preserve efficacy.
Material quality: High-grade sanding papers (1000–2000 grit) and non-abrasive polishing compounds yield better clarity and longer-lasting results.
Brand compatibility: If you already own a headlight restoration kit, verify that new accessories are compatible with your current system to avoid mismatches.
Are you replacing headlights or restoring aging lenses? A complete kit that includes UV sealant and clear coat helps protect the lens after restoration and can simplify maintenance.