Chalk-painted furniture adds a soft, vintage charm to homes, but keeping it clean without dulling the finish requires a gentle approach. This guide walks American readers through practical steps, common pitfalls, and product ideas to preserve matte chalk paint with minimal effort.
Quick Answer
Use a pH-neutral furniture cleaner for chalk paint and a lint-free microfiber polishing cloth chalk paint furniture for routine cleaning. For stubborn spots, opt for a soft bristle brush for chalk paint furniture, then seal with a chalk paint wax sealer kit to protect the surface. Avoid harsh chemicals and abrasive tools that can strip the finish.
What You’ll Need
Gather these tools and supplies before you start. They are chosen to work specifically with chalk-painted surfaces and minimize risk of damage.
- pH-neutral furniture cleaner for chalk paint
- Microfiber cloth for chalk paint furniture cleaning
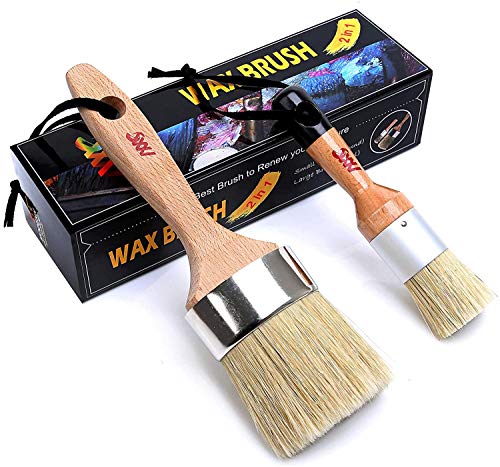
- Soft bristle brush for chalk paint furniture
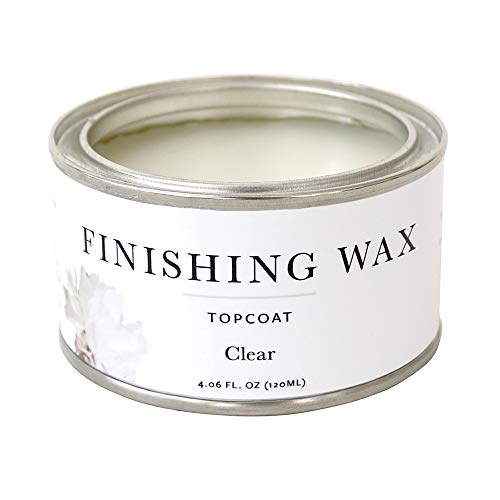
- Chalk paint wax sealer kit
- Lint-free microfiber polishing cloth chalk paint furniture

Before You Start
Prepare the area by removing objects and laying down a soft drop cloth. Light, even cleaning is essential to avoid abrading the paint. Test any cleaner in an inconspicuous spot first to confirm no discoloration or residue forms. Time estimates vary; plan for 20–40 minutes for a typical piece, plus extra for wax sealing if you choose to refresh the finish. Important cautions: never use ammonia- or solvent-based cleaners on chalk paint, and avoid excessive moisture that can cause swelling or softening of painted surfaces.
Step-By-Step: How To Clean Chalk Painted Furniture
- Inspect the piece for chips, loose paint, or scratches. Note areas that need extra care so you don’t over-wet or scrub them.
- Dust the surface with a dry microfiber cloth to remove loose dirt before damp cleaning.
- Lightly mist a pH-neutral furniture cleaner for chalk paint onto a lint-free microfiber polishing cloth chalk paint furniture, not directly onto the surface.
- Gently wipe in the direction of the paint grain. Use soft bristle brush for chalk paint furniture on textured or intricate areas to lift grime without abrading edges.
- For stubborn spots, apply a tiny amount of cleaner to the cloth and let it sit for a moment before wiping away.
- Rinse with a clean, barely damp cloth to remove any cleaner residue, then dry immediately with a fresh microfiber cloth.
- Assess whether the finish appears dull or worn. If the surface lacks uniformity, consider applying a chalk paint wax sealer kit to restore a protective, matte seal.
- To protect long-term, follow the wax kit’s instructions, typically applying thin coats and buffing to a soft sheen with a lint-free microfiber polishing cloth chalk paint furniture.
- Reinspect after sealing; avoid placing heavy objects on the surface for at least 24 hours.
- Document care steps for future touch-ups, keeping cleaners and tools clean and separate from other finishes.
- Maintain by performing light cleanings every few weeks and reapplying a sealant as the color or finish begins to look uneven or worn.
- Store cleaning supplies out of reach of children and pets, and label bottles to prevent cross-use with other finishes.
Troubleshooting
| Symptom | Likely Cause | Fix | Prevention |
|---|---|---|---|
| Streaks after cleaning | Residual cleaner or moisture | Wipe with a dry microfiber cloth and buff | Use minimal moisture and a lint-free cloth |
| Paint lifting at edges | Excessive moisture or aggressive scrubbing | Limit water, switch to soft motions | Avoid soaking; clean in small sections |
| Patchy finish after wax | Uneven application | Apply thin, even coats and buff thoroughly | Follow kit directions precisely |
| Darkening or color change | Solvent contamination | Use approved chalk paint cleaners only | Test products first in hidden areas |
Common Mistakes
- Using aggressive cleaners or rough brushes on chalk paint
- Over-wetting the surface during cleaning
- Skipping a proper dry-down before re-coating or sealing
- Neglecting to seal after cleaning when the finish looks worn
Remedies for these issues are straightforward and typically involve gentler technique, proper drying, and timely sealing to maintain the matte aesthetic of chalk paint.
Tips For Best Results
- Work in a well-ventilated area to minimize odor exposure when waxing
- Use a dedicated kit designed for chalk paint wax sealing to ensure compatibility
- Keep a small, finished test area to compare the look after cleaning or sealing
- Dust regularly with a microfiber cloth to reduce heavy cleaning cycles
- Avoid silicone-based cleaners that can interfere with future wax adhesion
Call A Professional
Contact a professional if the piece shows significant chipping, water damage, or if the wax seal has failed and cannot be reapplied evenly. Seek expert help for large surfaces or antique items where preserving value matters. Warning signs include peeling paint, warped surfaces, or persistent staining despite cleaning and waxing efforts.
FAQ
Can I use regular furniture cleaner on chalk paint?
No. Use a pH-neutral furniture cleaner for chalk paint to avoid residue and damage.
Should I wax chalk-painted furniture after cleaning?
Waxing is recommended for protection and to maintain the matte finish. Use a chalk paint wax sealer kit as directed.
What kind of cloth is best for cleaning chalk paint?
A lint-free microfiber polishing cloth chalk paint furniture is ideal for wiping without lint or scratches.
How often should I seal chalk-painted furniture?
Seal whenever the finish looks worn or dull, or after a deep clean with wax touch-ups as needed.
Can I clean with water alone?
Minimal moisture can be used, but water alone may not remove oils or grime effectively without risking the finish. Use a pH-neutral cleaner for best results.
Buying Guide
When choosing supplies for chalk-painted furniture cleaning and maintenance, consider size, noise, and ease of use. For cleaners, prioritize pH-neutral formulas to avoid stripping. Tools like microfiber cloths are essential for lint-free results, while soft-bristle brushes help with textured surfaces. A dedicated wax sealer kit protects the finish after cleaning. Look for compact, effective kits that are easy to store in a cleaning cabinet. For larger pieces, choose tools that reach corners without over-wetting. Consider bundle options that combine cleaner, brushes, and wax sealers, ensuring consistent results across multiple projects. Would you like recommendations tailored to a specific piece, such as a dresser or cabinet? I can help align tool choices with your furniture size and texture.