Dust buildup that hardens into a crust can be stubborn and time-consuming to remove. This guide offers practical, step-by-step methods using common cleaning tools and specialized gear to tackle baked-on dust effectively while maintaining surface safety. Readers will learn a workflow that minimizes effort and protects delicate finishes across typical American homes.
Quick Answer
Quick method: Start with a dusting brush and microfiber cloth to loosen the crust, then use a vacuum with a crevice tool for hidden deposits. For tenacious buildup, apply gentle chemical or moisture-based care, followed by a final wipe with a microfiber cloth. If residue remains, consider a compressed air blast or a dedicated baked-on dust tool.
What You’ll Need
- Stubborn dust baked-on surface cleaning brush
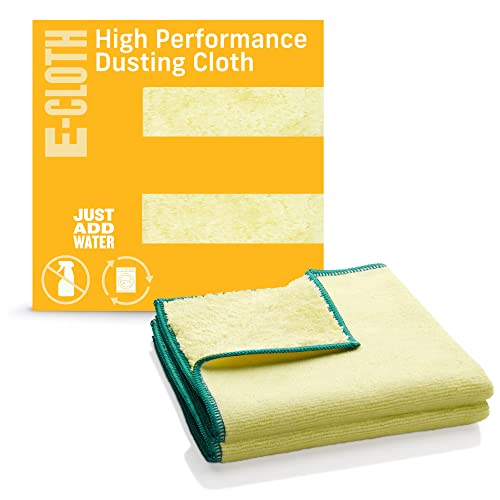
- Microfiber dusting cloth set for baked-on dust
- Vacuum cleaner with crevice tool for hidden dust
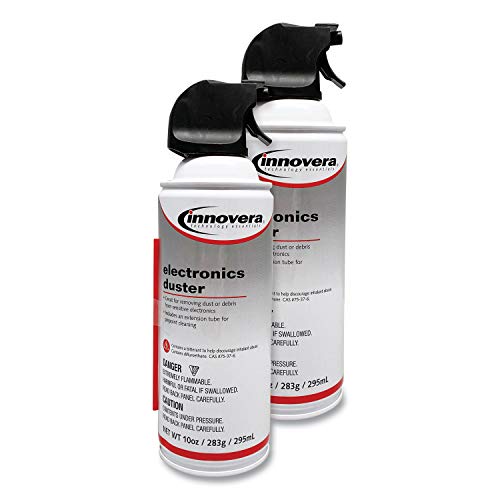
- Compressed air duster can for caked dust removal
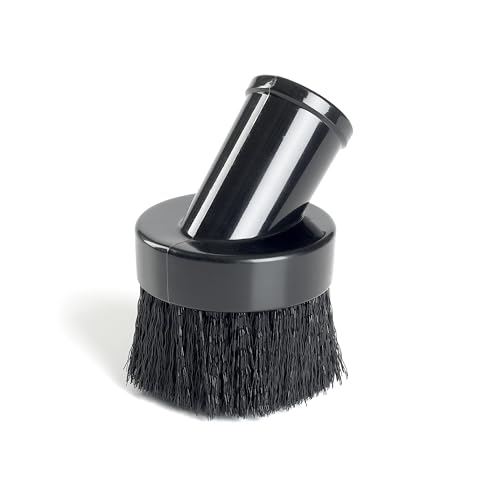
- Dusting brush wand attachment for furniture and vents
Before You Start
Assess the surface type and finish before choosing cleaning methods. Wood, painted surfaces, and electronics require gentler approaches to avoid scratching or moisture damage. Work in a well-ventilated area, especially when using sprays or compressed air. Wear a dust mask if controlling a large amount of airborne dust. Expect a range of 15–45 minutes depending on the extent of buildup. Do not use excessive moisture on porous surfaces to prevent warping or staining.
Step-By-Step: How To Clean Caked-On Dust
- Begin with dry dusting: Use the dusting brush wand attachment to sweep loose dust from edges, corners, and vents. This reduces the amount of wet cleaning needed later.
- Loosen crust with a microfiber cloth: Lightly dampen a microfiber cloth and wipe in a circular motion, focusing on areas with visible baked-on dust. The cloth should pick up residue without leaving streaks.
- Target stubborn spots with a dedicated brush: For baked-on layers, employ the stubborn dust baked-on surface cleaning brush to agitate without scratching surfaces.
- Vacuum the loosened dust: Switch to a vacuum with a crevice tool and run along seams, baseboards, and behind furniture to capture loosened debris.
- Use compressed air for gaps: In tight crevices or vents where dust clings, use a compressed air duster can to blow debris free. Hold can upright and use short bursts to avoid over-wetting surfaces.
- Wipe down and recheck: After vacuuming and air blasting, wipe the area again with a clean microfiber cloth. Inspect for remaining crust and repeat as needed.
- Address hard-to-reach areas: Reattach the dusting brush wand and clean behind furniture, under shelves, and inside cabinet corners where dust accumulates.
- Finish with a protective wipe: For surfaces that tolerate moisture, finish with a light wipe using a microfiber cloth to remove any film and prevent rapid resoiling.
- Maintenance plan: Establish a regular interval for light dusting to prevent future baking of dust by maintaining a clean environment.
- Final check: Ensure no remaining powdery residue on tactile surfaces and no damp spots on wood or textiles.
- Store tools properly: Return tools to their storage to prevent dust from resettling on cleaned surfaces.
Troubleshooting
| Symptom | Likely Cause | Fix | Prevention |
|---|---|---|---|
| Dust reappears quickly after cleaning | Residual buildup or poor surface preparation | Rerun steps focusing on stubborn spots; consider a light protective wipe | Increase cleaning frequency; use air-free tools after dusting |
| Scratches or polish dulling on wood | Overly aggressive brushing or moisture | Switch to gentler strokes and dry cloths; avoid excess moisture | Test on inconspicuous area first |
| Cloth leaves lint or residue | Low-quality microfiber or dampness | Use fresh microfiber cloths; wring cloth to a light dampness | Keep cloths clean and dry between passes |
| No improvement after using brush | Crust too thick or surface in sensitive condition | Apply minimal moisture and give extra dwell time for cleaners | Assess surface compatibility before proceeding |
Common Mistakes
- Over-wetting porous surfaces, which can cause swelling or staining
- Using abrasive brushes on delicate finishes
- Rushing cleaning sessions, leaving crusty residues behind
- Neglecting vents and hidden corners where dust accumulates
- Ignoring safety notes when handling compressed air or cleaners
Tips For Best Results
- Work from top to bottom to prevent dust from falling onto cleaned areas.
- Keep a dedicated microfiber set for baked-on dust to avoid cross-contamination with regular cleaning cloths.
- Use the vacuum cleaner with crevice tool for hidden dust to capture debris from tight spaces efficiently.
- When using the compressed air duster can, hold the can upright and use short bursts to avoid freezing moisture on the surface.
- For frequent dusty environments, consider a routine cleaning schedule to maintain surfaces between deep cleans.
Call A Professional
Consider contacting a professional if: the baked-on dust is on delicate electronics, antique wood finishes, or surfaces sensitive to moisture. If cleaning requires solvents or specialized equipment, or if there is evidence of water damage, structural issues, or mold risk, seek expert help promptly.
FAQ
Can I clean baked-on dust without water?
Yes. Dry dusting with a brush or microfiber and using a vacuum can remove most baked-on dust without moisture, especially on non-porous surfaces.
What’s the best tool for vents and narrow gaps?
A dusting brush wand attachment combined with a vacuum crevice tool is effective for narrow gaps and behind furniture.
How often should I perform a deep clean for baked-on dust?
Depends on environment; in high-dust homes, every 2–4 weeks may prevent buildup, while low-dust areas may suffice every few months.
Are compressed air cans safe for electronics?
Use caution; hold can upright and follow manufacturer guidelines to avoid moisture spray that could damage sensitive components.
Is moisture necessary for baked-on dust removal?
Moisture can help loosen crust, but it should be used carefully on wood and painted surfaces to prevent damage. Dry tools work well on many surfaces.
What maintenance helps prevent future buildup?
Regular dusting with microfiber cloths, using a vacuum for hidden dust, and keeping indoor humidity controlled can reduce baking of dust.
What cleaning sequence works best for most households?
Start dry, then dampen if needed, followed by vacuuming and final wipe-down for best results.
Buying Guide
When selecting tools to tackle caked-on dust, consider size, noise, energy use, and placement needs. For quick daily maintenance, a light, silent microfiber kit paired with a handheld vacuum is convenient. For hard-to-reach areas, invest in a dusting brush wand attachment and a dedicated baked-on dust brush. If dust resides in vents or behind furniture, a vacuum with a strong crevice tool enhances reach. For stubborn crusts, a compressed air duster can be a fast, spray-free option—but use cautiously to avoid moisture spread. Evaluate your typical cleaning zones (kitchens, living rooms, or offices) and choose versatile tools that can cover multiple surfaces without causing damage. Consider the balance between ease of use and durability to ensure long-term value.