After sanding cabinet surfaces, removing dust and debris is crucial to ensure a smooth paint or stain finish. Proper cleanup reduces the risk of texture inconsistencies and adhesion problems later in the project. This guide walks through a practical, step-by-step process using common tools to achieve a dust-free cabinet surfaces ready for sealing.
Quick Answer
Start by removing loose dust with a hand brush or tack cloth, then vacuum with a workshop HEPA system, wipe with microfiber cloths dampened with a mild cleaner, and finish with a final HEPA-filtered air scrubber to capture fine particles before finishing.
What You’ll Need
- tack cloth woodworking sanding dust removal
- HEPA vacuum for workshop dust cleanup
- microfiber cleaning cloths for cabinets dust
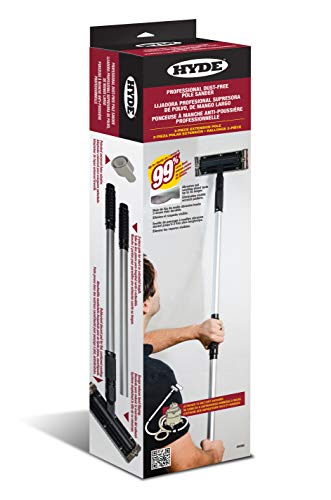
- dust-free sanding setup vacuum attachment cabinets
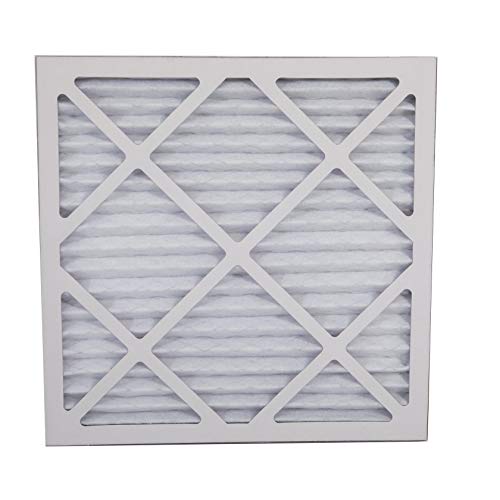
- air scrubber with HEPA filter woodworking dust

Before You Start
Prepare a clean, well-ventilated workspace. Remove cabinet doors and hardware to clean all surfaces evenly. Wear a dust mask or respirator to protect against fine particles. Protect surrounding areas with drop cloths and seal off the workspace if possible. Time estimate: 45 minutes to 2 hours depending on cabinet size and finish goals. Critical cautions include avoiding damp wiping on unfinished wood that may swell, and ensuring power tools are unplugged during cleanup.
Step-By-Step: How To Clean Cabinets After Sanding
- Remove all loose dust from surfaces using a dry brush or the nozzle on a vacuum to lift particles from corners and edges.
- Attach a dust-free sanding setup vacuum attachment cabinets to your vacuum and run along all flat surfaces to collect fine powder.
- Wipe surfaces with a tack cloth to pick up remaining dust particles that the vacuum may have missed.
- Moisten a microfiber cleaning cloth with a mild solution of water and a drop of dish soap, and wipe all cabinet faces, including inside corners.
- Rinse the microfiber cloth frequently and change water as needed to prevent redistribution of dust.
- Vacuum again with a HEPA vacuum to remove loosened dust from crevices and joints.
- Check hardware holes and edges for any lingering dust and wipe as needed before reassembling or priming.
- If space permits, place an air scrubber with a HEPA filter near the cleaning area and run it for 10–15 minutes to capture fine particles lingering in the air.
- Lightly inspect surfaces under angled light for any remaining dust or fingerprints and repeat wiping if necessary.
- Reattach doors, pulls, and hinges only after surfaces are fully dry to prevent adhesion issues with the finish.
- Prepare for priming or staining by ensuring all surfaces are dust-free and completely dry.
- Store cleaning tools in a sealed bag or container to prevent recontamination before finishing begins.
Troubleshooting
| Symptom | Likely Cause | Fix | Prevention |
|---|---|---|---|
| Persistent fine dust after cleaning | Airborne particles not captured | Run air scrubber with HEPA filter for longer; re-wipe with damp microfiber | Clean in a sealed or ventilated area; use HEPA equipment from the start |
| S Light residue on surfaces | Excess moisture or soap residue | Wipe with a damp cloth only; finish with a dry microfiber | Rinse cloths frequently; avoid over-wetting |
| Dust reappears after priming | Dust contaminated primer layer | Lightly re-clean before priming; use tack cloth | Keep workspace clean and closed during steps |
Common Mistakes
- Skipping the final wipe after vacuuming, which leaves fine dust in finish crevices.
- Using a damp cloth too aggressively, causing wood swelling or finish issues.
- Neglecting to remove hardware and masking areas that can trap dust.
- Rushing the cleanup and reassembling cabinet parts while dust is still airborne.
Tips For Best Results
- Work in a clean, contained area to minimize dust spread to other parts of the home.
- Keep a dedicated tack cloth handy for quick, on-the-spot dust pickup during the project.
- Use high-quality microfiber cloths that trap dust rather than push it around.
- Change HEPA filters regularly to maintain effective suction in vacuums and air scrubbers.
- Test a small area first to ensure your cleaning method does not affect any existing finishes.
Call A Professional
Consider contacting a professional if cabinet pieces are large, if finishes require specialized primers, or if the project involves intricate woodwork or hazardous finishes. Stop and seek help if dust exposure becomes difficult to control, if odors linger after cleaning, or if you notice inconsistent adhesion after priming.
FAQ
How do I remove sanding dust from cabinet interiors?
Use a dry brush to loosen dust, followed by a HEPA vacuum and a tack cloth to capture remaining particles inside corners and shelves.
Is a damp wipe safe on all cabinet surfaces?
Use a barely damp microfiber cloth with mild cleaner; avoid soaking wood to prevent swelling or finish damage.
What role do air scrubbers play in cabinet cleanup?
Air scrubbers with HEPA filters remove fine dust from the air, reducing re-settling on surfaces prior to finishing.
How long should I run a HEPA vacuum during cleanup?
Run the vacuum long enough to crop up loose dust from all surfaces and seams; a thorough pass may take several minutes per cabinet area.
Buying Guide
When choosing tools to clean cabinets after sanding, consider how they fit your workspace, budget, and finish goals. Size matters for reach and maneuverability, especially in tight kitchen or vanity spaces. Noise level is a practical factor in a living area. Energy efficiency helps reduce long-term utility use. Look for controls that are intuitive and reliable, and plan for storage to keep tools ready for future projects. A combination of a HEPA vacuum, tack cloths, microfiber cloths, and a portable air scrubber often provides the best balance of dust control and convenience for cabinet cleanup. Ready the tools in advance to minimize interruptions between sanding, cleaning, and finishing. A well-planned setup reduces dust fallout, saves time, and improves the final cabinet appearance.