Paint transfer occurs when a vehicle’s clear coat or paintwork picks up material from another surface, such as a curb, a parked car, or a shopping cart. This guide outlines practical, step-by-step methods using common detailing products to restore the finish with minimal risk to the underlying paint.
Following the right sequence—gentle clay, polishing, and a protective finish—helps maintain gloss and prevent further damage. This approach is suitable for most modern clear coats and is aimed at DIY enthusiasts who want professional-looking results at home.
Quick Answer
For minor paint transfer, start with clay bar detailing to lift embedded residues, then use a 3-step rubbing compound and polish kit to restore gloss. Finish with a protective wax or sealant and a light touch with a dual action polisher if needed. For deeper or stubborn spots, repeat the process or consider a dedicated paint transfer remover kit for cars designed to target transfer without harming the base paint.
What You’ll Need
- car paint transfer removal clay bar kit
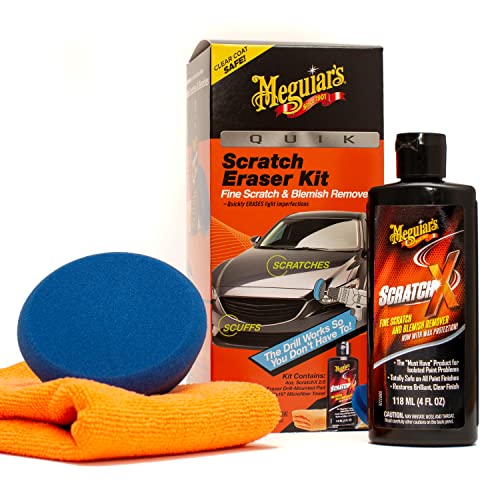
- automotive rubbing compound and polish kit 3-step
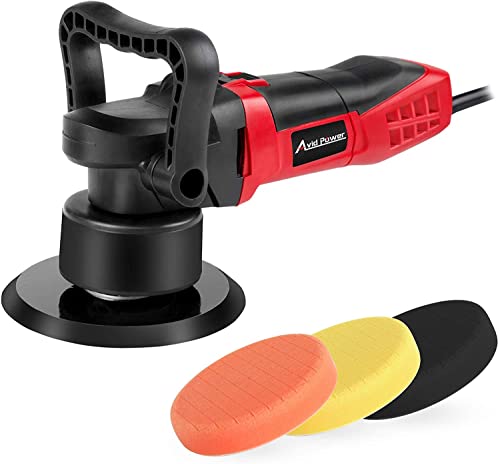
- dual action polisher with 6 inch pads kit
- 6 inch car detailing clay bar and microfiber towel set
- paint transfer remover for cars kit

Before You Start
Park in shade and work on a cool surface to prevent premature drying of compounds. Wash the car thoroughly to remove loose dirt, then dry completely. Use soft, lint-free microfiber towels and keep the paint surface well-luted to reduce scratching. Always test a small, inconspicuous area first to gauge response. If the finish shows etched oxidation, deeper repair may be required later.
Time estimate: 60–120 minutes depending on the size of the affected area and the severity of transfer. Safety notes include avoiding aggressive rubbing over edges or recessed panels where the paint is thinner. If unsure, consult a professional.
Step-By-Step: How To Remove Paint Transfer
- Prepare the surface with a thorough wash, dry, and spray a light layer of detailing lubricant or water to carry the clay bar smoothly.
- Use the car paint transfer removal clay bar kit to gently knead and flatten the clay, then glide it over the affected area with light pressure in one direction.
- Wipe away residue with a clean microfiber towel and re-lubricate as needed to prevent sticking.
- Apply a small amount of the automotive rubbing compound and polish kit 3-step to a foam pad or microfiber applicator and work in a controlled, overlapping pattern until the transfer lifts.
- Wipe clean, then use the second step (polish) to restore gloss and remove micro-marring left by the compound.
- For stubborn spots, switch to the dual action polisher with 6 inch pads kit for consistent pressure and rotation, following the pad’s recommended speed settings.
- Rinse, dry, and inspect the panel under bright light. If any transfer remains, repeat the clay and polish steps in a targeted area.
- Seal the repaired area with a protective wax or sealant to lock in the finish and add hydrophobic protection.
- Finish with a light wipe-down using the 6 inch car detailing clay bar and microfiber towel set to remove any last fine residues.
- Re-check after a day or two; a second, lighter pass may be necessary for complete removal and uniform gloss.
- Optional: Apply a dedicated paint transfer remover for cars kit for targeted remnants, following product instructions carefully.
- Store tools and materials properly, and wash detailing towels separately to avoid cross-contamination.
Troubleshooting
| Symptom | Likely Cause | Fix | Prevention |
|---|---|---|---|
| Rubbing compound dulls finish | Over-application or deep scratches | Use a lighter touch and re-polish with finer pads | Test first; use gradual correction |
| Clay bar leaves streaks | Insufficient lubrication | Re-lubricate and rework small areas | Keep a steady, light hand and ample lubricant |
| Transfer reappears after wash | Residue not fully removed | Repeat clay and polish steps on that area | Finish with a sealant for easier future removal |
| Polisher overheats paint | High speed and long passes | Reduce speed, pause, and cool surface | Use intermittent passes and backing plate |
Common Mistakes
- Using aggressive force with clay or polish, which can scar clear coats
- Skipping lubrication, leading to friction and scratching
- Over-reliance on a single product for all transfer types
- Neglecting panel testing before full-area application
Tips For Best Results
- Work in small sections to maintain control and consistent results
- Keep all pads and towels clean and free of grit to avoid introducing scratches
- Choose a cutting compound appropriate for your paint type and shade
- Follow manufacturer directions for any solvent-based transfer removers
- Finish with a high-quality wax or paint sealant for UV protection
Call A Professional
Consider a pro if transfer coverage is extensive, if the paint underneath appears thin or damaged, or if you observe color mismatch or clear coat peeling. Stop work and consult a body shop or detailing specialist if you notice bubbling, cracking, or unusual texture changes in the paint.
FAQ
Can I use any clay bar kit for paint transfer removal?
Most clay bar kits can remove light transfers, but choose one that includes lubricants and is safe for your vehicle’s clear coat.
Is a dual action polisher necessary?
Not always, but it helps achieve uniform results on larger areas or stubborn spots with controlled pressure.
Will paint transfer remover harm my paint?
When used as directed on compatible finishes, it should be safe; always spot-test first.
How long does the process take?
Expect 60–120 minutes depending on area size and transfer severity, with longer times for deeper issues.
Buying Guide
Choosing the right tools and products for paint transfer removal involves understanding size, noise level, energy efficiency, controls, and placement in the garage or driveway.
- Size and coverage: For larger vehicles, a dual action polisher kit with multiple pads speeds up work and provides consistent results.
- Noise and vibration: Look for a polisher with variable speed settings and a balanced grip to minimize fatigue during longer sessions.
- Power and performance: A 6-inch pad system is standard for most paint transfer tasks, balancing cutting ability and control.
- Controls and usability: Simple speed control, ergonomic handles, and included backing plates improve ease of use.
- Placement and storage: Choose compact storage cases or organizers for clay bars, compounds, and towels to keep the workspace tidy.
When evaluating options, consider a kit that combines a clay bar, rubbing compound, polish, and a dual action polisher to streamline the process. This integrated approach reduces the need to source separate products and helps ensure compatibility across steps.