Foggy or yellowed headlights can reduce nighttime visibility and signaling. This guide outlines a practical, step‑by‑step approach using common restoration products to restore clarity to plastic headlights and extend their life.
Quick Answer
Restore faded plastic headlights with a dedicated restoration kit, followed by a UV sealant for lasting protection. Start with sanding, then polishing, and finish with a protective sealant to keep clarity longer.
What You’ll Need
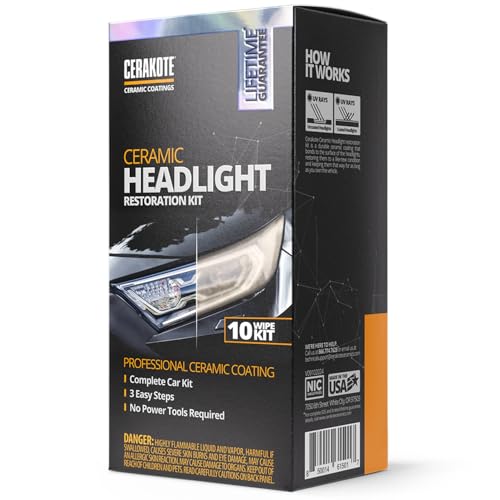
- Headlight restoration kit for plastic headlights
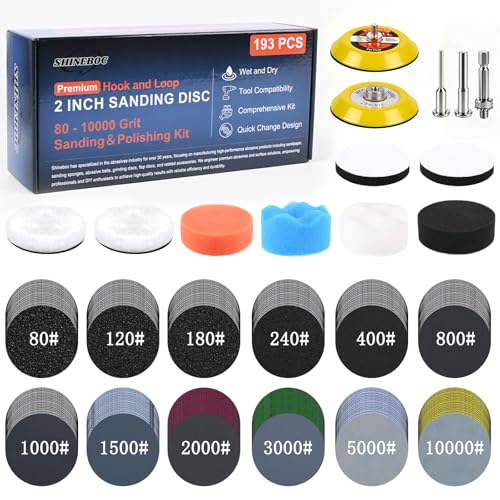
- Sandpaper headlight restoration kit 1000 grit
- Sandpaper headlight restoration kit 2000 grit
- Drill-powered headlight restoration kit with polishing pad
- UV sealant headlight restoration kit
- Polishing compound for faded plastic headlights

Before You Start
Park in a shaded area and cool, dry surface prep is essential. Clean the headlight lenses to remove dirt and wax. Protect surrounding paint with painter’s tape. Time estimate: 45–90 minutes per headlight. Safety note: use eye protection when sanding and avoid inhaling dust. If the headlights have deep cracks or structural damage, replacement may be necessary rather than restoration.
Step-By-Step: How To Restore Foggy Headlights
- Prepare the surface by washing the headlights with soap and water, then dry thoroughly.
- Apply masking tape around the headlight to protect the bumper and trim.
- Use the 1000 grit sandpaper on a flat, damp surface, keeping the area wet and sanding evenly in a horizontal motion.
- Switch to the 2000 grit sandpaper and repeat the sanding process to refine the surface for polishing.
- Attach the polishing pad from the drill-powered kit and apply a small amount of polishing compound. Run the drill at a low speed, moving in circular motions until the lens looks clearer.
- Wipe away residue with a microfiber cloth and recheck for clarity. Repeat polishing if needed, focusing on any remaining haze.
- Apply the UV sealant evenly across the lens, allowing it to cure per product instructions. This creates a protective layer against future oxidation.
- Remove masking tape and inspect the final result. Repeat steps if discoloration persists on heavily faded lenses.
- For best results, complete the process on both headlights and apply a second coat of UV sealant after the first cures.
- Store the kit components properly and dispose of any sanding waste according to local regulations.
- Test the headlights by driving at night to confirm improvement in brightness and glare control.
- If fogging reappears within months, reapply the sealant and consider repeating the polishing process to refresh the surface.
Troubleshooting
| Symptom | Likely Cause | Fix | Prevention |
|---|---|---|---|
| Headlights look hazy after polishing | Residual compound or uneven sanding | Re-clean, re-sand with 2000 grit, re-polish | Ensure even pressure and thorough cleaning between steps |
| Yellowing returns after a few months | Insufficient UV protection or exposure to sunlight | Reapply UV sealant and keep vehicle parked away from prolonged sun | Use UV-protective coatings and cover the vehicle when possible |
| Scratches appear deeper after sanding | Aggressive sanding or contaminated sandpaper | Switch to fresh, finer grit and water the surface frequently | Use clean, damp sandpaper and follow the grit progression |
| Sealant not curing properly | Moisture or incorrect temperature | Wait for dry conditions and reapply per instructions | Perform in a shaded, well-ventilated area with stable temp |
Common Mistakes
- Skimping on surface prep before sanding
- Rushing steps or skipping the 2000 grit stage
- Over-sanding or applying excessive pressure
- Neglecting UV protection after polishing
- Using the wrong polish or sealant for plastic headlights
Correct technique matters as much as the products. Following the sequence and maintaining a wet surface helps prevent micro-scratches that reduce clarity.
Tips For Best Results
- Work in a consistent, shaded area to avoid rapid drying of products
- Keep all tools moving to prevent uneven patches on the lens
- Test the sealant on a small area before full application
- After restoration, consider periodic reapplication of UV sealant every 1–2 years
- Lubricate the drill pad or polishing cloth to reduce heat buildup
Call A Professional
Consult a professional if headlights have deep pitting, severe cracking, or the restoration does not achieve acceptable clarity. Stop and seek expert help when lenses show signs of structural damage, moisture inside the lens, or coating failure that could impair visibility or safety.
FAQ
Can any headlight be restored with a kit?
Most plastic headlights can be improved with a restoration kit, though heavily damaged lenses may require replacement.
How long does a typical headlight restoration last?
Results usually last several months to a couple of years depending on exposure and sealant maintenance.
Do I need to remove the headlight assembly to restore it?
In most cases, restoration can be done with the lens in place; removing the assembly is optional for better access.
Is a drill-powered kit necessary?
No, hand‑polishing kits work, but a drill-powered kit speeds up the process and often yields smoother results.
Are UV sealants essential?
Yes, UV sealants provide crucial protection against yellowing and oxidation for longer-lasting clarity.
Will restoration improve foggy lenses that are yellowed?
Yes, restoration can restore clarity and reduce yellowing, especially with proper sealing afterward.
What should I do if water droplets appear inside the headlight after restoration?
Water inside indicates a seal or housing issue; stop using the vehicle and have the lens inspected by a professional.
Buying Guide
Choosing the right kit depends on a few practical factors. Consider the size of the headlights and the frequency of use on the vehicle; larger headlights may require more material and time. Noise level and ease of use matter for DIY enthusiasts, especially when using drill-powered tools. Energy efficiency is less about the product and more about how effectively you restore the lens so the lights shine brighter with less strain on the engine at night. Pay attention to controls, ease of application, and compatibility with plastic lenses. Placement doesn’t apply directly to a headlight kit, but store and use in a well-ventilated, dust-free area. Compare kits that include sanding disks, polishing pads, and UV sealants to ensure a complete system. For best results, look for a comprehensive kit that covers sanding (1000 and 2000 grit), polishing, and sealing, plus clear instructions for safe DIY use on plastic lenses.