Preparing a wooden surface properly is essential to achieve a smooth, durable finish. Cleaning removes dust, oils, and contaminants that can interfere with adhesion and the final appearance. This guide outlines practical steps and the best products to use for American households, with a focus on clean, chemical-safe prep before staining or varnishing.
Quick Answer
Clean wood thoroughly, use a dedicated wood prep solvent if needed, and finish with a lint-free cloth to ensure an even stain or topcoat. Start with dust removal, then wipe with the appropriate cleaner, and finish with a final wipe-down using a clean, dry cloth before applying finish.
What You’ll Need
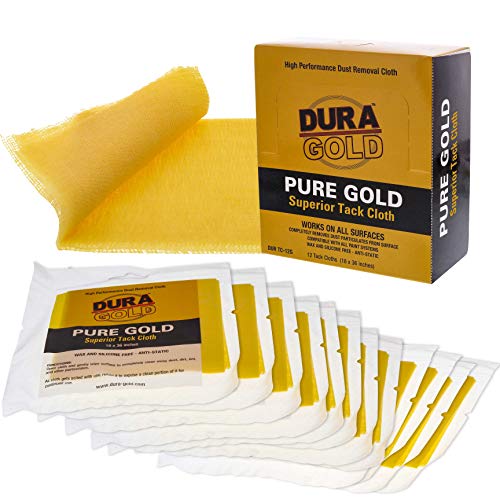
- Tack cloth for wood finishing prep to pick up fine dust
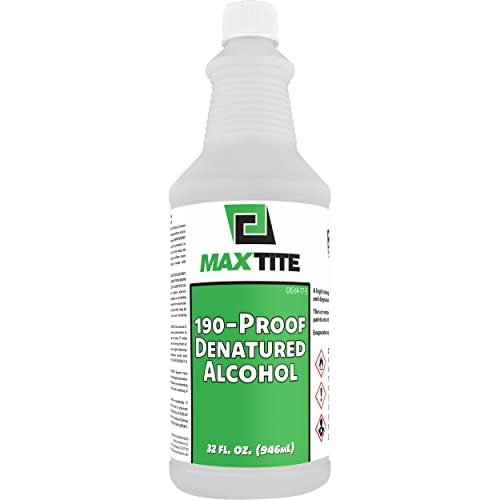
- Denatured alcohol wood prep cleaner for stubborn oils and residues
- Mineral spirits for wood finishing prep as a gentle degreaser
- Microfiber cleaning cloth for wood surface for lint-free wiping
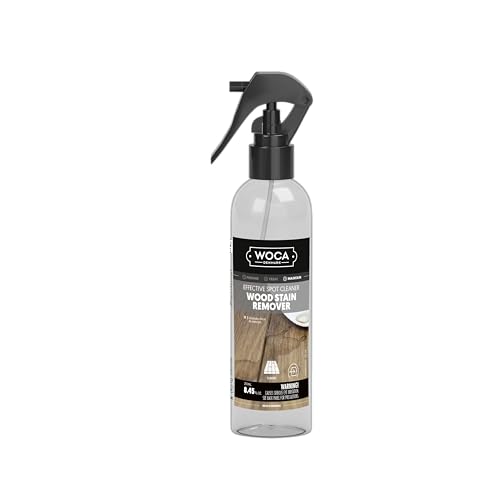
- Wood surface cleaner degreaser before stain varnish to break down contaminants
Before You Start
Confirm the wood species and finish type to select compatible cleaners. Work in a well-ventilated area and wear protective gloves if you have sensitive skin. Protect surrounding surfaces with drop cloths or painter’s tape. Time estimates: dusting and initial wipe-down 10–20 minutes; solvent wipe-down 10–20 minutes; final dry time before finishing 15–30 minutes. Never mix cleaners or apply solvents near heat or sparks.
Step-By-Step: How To Clean Wood Before Finishing
- Remove loose dust with a tack cloth to avoid embedding particles into the wood during finishing.
- Lightly sand the surface with a fine-grit sandpaper if the wood has raised grain or rough patches, then wipe away dust with a microfiber cleaning cloth.
- Apply a wood surface cleaner degreaser before stain varnish to lift oils and residues left by hands or previous coatings.
- For sticky residues or heavy oils, use denatured alcohol wood prep cleaner on a lint-free cloth and wipe along the grain.
- Switch to a mineral spirits for wood finishing prep wipe to remove any remaining solvent and ensure a stable surface.
- Rinse with a clean microfiber cloth, ensuring you remove all cleaner residues from the wood pores.
- Allow the surface to dry completely; this can take 15–60 minutes depending on ambient humidity and temperature.
- Inspect for dust or fibers. If present, use a fresh tack cloth to pick up any last particles.
- Optionally perform a final wipe with a dry microfiber cloth to promote a uniform surface sheen before applying stain or finish.
- Proceed with staining or applying the finish according to product instructions, avoiding heavy applications that can trap dust.
- Clean up tools promptly and store cleaners in a cool, ventilated area away from children and pets.
Troubleshooting
| Symptom | Likely Cause | Fix | Prevention |
|---|---|---|---|
| Raised grain after drying | Moisture or leftover cleaner | Lightly re-sand and re-clean with tack cloth | Ensure complete drying before finishing |
| Sticky finish or blotches | Residues from cleaners | Wipe with clean mineral spirits and dry thoroughly | Use dedicated wood prep cleaners in the correct sequence |
| Dust sticking to surface | Dust particles present during finishing | Wipe with tack cloth and brief dust-free environment | Work in a clean, low-dust room |
| Uneven sheen | Uneven cleaning or moisture | Evenly re-clean with microfiber cloths in the grain direction | Ensure uniform drying and temperature |
Common Mistakes
- Using the wrong cleaner for the wood type and finish, which can leave residues.
- Skipping the final dry-and-dust check, causing dust to cling to the finish.
- Over-wetting the surface with solvent, leading to raised grain or warping.
- Ignoring safety steps, such as inadequate ventilation or not protecting surrounding areas.
Tip: Always test cleaners on a small, inconspicuous area before full-surface application to confirm compatibility with the wood and finish.
Tips For Best Results
- Work in a clean, dust-free environment with steady temperature and low humidity for a smoother finish.
- Use a fresh tack cloth after each cleaning step to avoid recirculating dust.
- Choose compatible cleaners that match the stain or topcoat you plan to apply.
- Label and store solvents safely, away from ignition sources and out of reach of children.
Call A Professional
Consider contacting a professional if the wood has deep staining, extreme finishes, or delicate veneer that may be damaged by improper cleaning. Stop signs include persistent warping, severe grain lifting after cleaning, or finishes failing to adhere despite proper preparation. A pro can assess wood condition, recommend appropriate products, and ensure an even, durable finish.
FAQ
What is the best order for cleaning before finishing?
Dust removal with a tack cloth, followed by a gentle cleaner, then a solvent wipe if needed, and a final dry wipe before finishing.
Can I use water to clean wood prior to finishing?
Water is not ideal for sealed or oily woods. Use purpose-specific cleaners or denatured alcohol and mineral spirits as directed.
Do I need to sand between cleaning steps?
Sand only if the surface is rough or raised. Otherwise, cleaning with clean cloths is sufficient.
How long should the wood dry after cleaning?
Dry times vary; typically 15–60 minutes in a ventilated area before applying stain or finish.
Buying Guide
Choosing the right prep products affects adhesion, color clarity, and durability of the finish. When shopping, consider:
- Size and packaging: Choose containers that fit your project scale and storage space.
- Cleanliness and contamination risk: Opt for low-residue cleaners to minimize particles left on the surface.
- Application method: Wipe-on solvents should be compatible with your cloth type (microfiber works well).
- Noise level and fumes: Denatured alcohol and mineral spirits have distinct odors; ensure proper ventilation.
- Surface compatibility: Match cleaners to the wood species and intended finish (stain, varnish, or polyurethane).
- Multiple-use vs single-use: Some products are designed for frequent use in workshops, others for one-off projects.
For most DIY projects, starting with a tack cloth and using a denatured alcohol or mineral spirits wipe-down provides reliable results. If results are inconsistent, consider testing a small area with alternative products before proceeding.