Vintage brass adds character and warmth to furniture, hardware, and décor, but it also demands careful cleaning to preserve its patina. This guide breaks down safe methods, gear, and step-by-step techniques that work for most brass pieces found in American homes. It emphasizes gentle restoration over aggressive polishing to maintain value and charm.
Quick Answer
Choose a method based on brass condition: light tarnish can be revived with a dedicated cleaner and cloth, while heavy oxidation benefits from a polishing tool with gentle compounds. Always test on an inconspicuous spot first and avoid abrasive materials on delicate surfaces.
What You’ll Need
- brass polishing kit with buffing wheel and compound
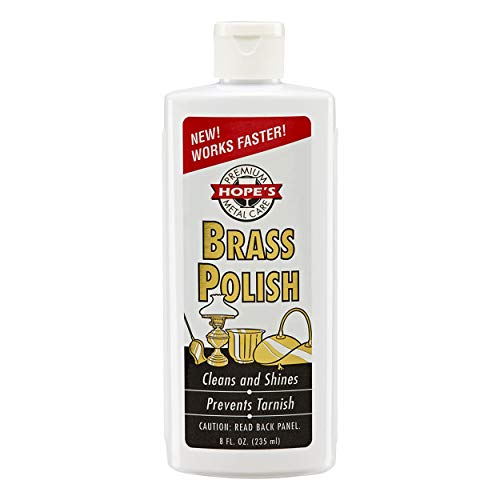
- brass cleaner and polish kit set
- electric polishing tool for brass metal
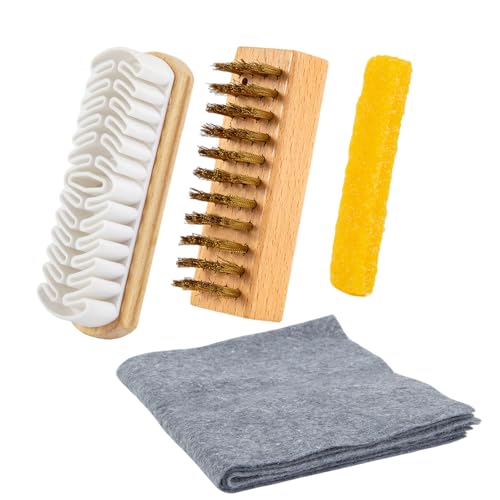
- soft brass cleaning brush and microfiber cloth set
- cabinet buffing wheel and polishing compound for brass

Before You Start
Inspect the piece for any cracks or loose parts. Brass that is heavily lacquered or coated should be treated with care to avoid removing the protective layer. Work in a well-ventilated area and wear soft gloves to prevent fingerprints. Time estimates vary by scale: small hardware can take 15–30 minutes; larger items may require 1–2 hours. Do not use harsh acids on antique finishes as they can strip patina and lower value.
Step-By-Step: How To Clean Vintage Brass
- Identify the finish: is the piece lacquered, oiled, or bare brass? This determines the cleaning approach.
- Dust thoroughly with a microfiber cloth to remove loose grime and prevent scratching during cleaning.
- Apply a small amount of brass cleaner to a soft cloth and rub in gentle circles along the grain of the brass.
- If tarnish remains, use a brass polishing kit with buffing wheel and compound on a low speed setting, applying light pressure in overlapping passes.
- For intricate areas, use a soft brass cleaning brush to reach crevices and a microfiber cloth to wipe away residue.
- Wipe clean with a fresh microfiber cloth to remove all polishing residue; inspect for uniform shine and preserved patina.
- For lacquered pieces, avoid removing the coating; instead, use a gentle cleaner and a soft cloth to maintain the protective layer.
- Rinse surfaces with a damp cloth and dry immediately to prevent water spots and mineral deposits.
- Optional protective step: apply a thin coat of clear wax or brass sealant following manufacturer directions to slow tarnish between cleanings.
- Document care: note cleaning products and methods used for future reference and avoid cross-use on other metal types.
- Reevaluate over time: bright spots may need a light touch-up, while deeply toned areas may require a repeat polish with care to preserve the original character.
- Store in a dry environment to minimize oxidation; avoid humidity-heavy spaces to extend the life of the finish.
Troubleshooting
| Symptom | Likely Cause | Fix | Prevention |
|---|---|---|---|
| Brass looks blotchy after polishing | Uneven cleaning or residue | Re-wipe with clean cloth and mild cleaner; buff evenly | Use consistent pressure and keep moves uniform |
| Patina disappears completely | Excessive polishing or removal of lacquer | Stop polishing; restore finish with a protective coating if applicable | Polish sparingly; preserve original patina |
| Brass tarnishes quickly after cleaning | Exposure to moisture or humidity | Dry thoroughly; consider a protective sealant | Keep in a dry area; occasional re-sealing |
| Scratches appear on surface | Abrasive cleaning tools used | Switch to non-abrasive pads and softer brushes | Stick to gentle methods and soft materials |
Common Mistakes
- Using abrasive pads or steel wool on brass finishes
- Over-polishing lacquered pieces and removing protective coatings
- Neglecting testing on a hidden area before full application
- Ignoring humidity and moisture during cleaning sessions
Tips For Best Results
- Test any cleaner on a small, inconspicuous area first to verify compatibility.
- Use a gentle touch and steady, overlapping strokes when polishing.
- Choose a cleaner formulated for brass that suits the piece’s finish (bare brass vs. lacquered).
- Keep tools clean and dry to avoid transferring contaminants onto the metal.
- Maintain a routine cleaning schedule to minimize heavy tarnish build-up.
Call A Professional
Stop and consult a professional if the brass piece is highly valued, antique, or shows suspicion of structural damage. Seek expert help if you notice flaking lacquer, corrosion near joints, or a finish that’s been compromised by DIY methods. If restoration involves restoring patina or reapplying protective coatings, a craftsman can advise on the most appropriate approach.
FAQ
Can I use household cleaners on vintage brass?
Household cleaners may be too harsh for patina and protective coatings; use products specifically designed for brass or gentle, non-abrasive cleaners.
Is polishing brass safe for all finishes?
Bare brass responds well to polishing; lacquered or antique finishes may require gentler cleaning and a protective topcoat.
How often should I clean vintage brass?
Light maintenance every few months helps prevent heavy tarnish; avoid over-polishing in short intervals.
What should I do with heavily tarnished brass?
Begin with a mild cleaner and progressive polishing; for severe oxidation, consider professional restoration for best results.
Buying Guide
When selecting brass cleaning gear and kits, consider size, purpose, and finish compatibility. A dedicated brass polishing kit with a buffing wheel can accelerate routine maintenance on larger items, while a soft cleaning brush and microfiber cloth set is ideal for delicate pieces and tight corners. Look for a brass cleaner and polish kit that explicitly states compatibility with bare brass and lacquered finishes, and ensure it includes a gentle, non-abrasive compound. For homeowners with multiple pieces, an electric polishing tool for brass metal offers efficiency, but must be used at low speeds to avoid heat buildup. A cabinet buffing wheel with a suitable compound is great for built-in hardware or furniture accents. Consider storage space, ease of use, and how often you expect to perform maintenance.
Size matters: smaller kits fit in a cabinet for quick touch-ups, while larger kits are better for extensive restoration work. Noise level and power are relevant if you plan to polish indoors in living spaces; choose quieter tools and shorter sessions to minimize disruption. Energy efficiency is a practical factor for frequent users; look for tools with energy-efficient motors and variable speed control. Controls should be intuitive, with clear speed settings and a safe guard to prevent over-polishing. Placement considerations include a clean, ventilated area away from heat or moisture, and a stable work surface to prevent accidents.