Solar pathway lights enhance outdoor spaces by providing subtle illumination without wiring. Over time, dust, pollen, and grime can reduce light output. This guide explains practical, safe cleaning methods that preserve efficiency and extend the life of solar-powered fixtures in American landscapes.
Quick Answer
Light cleaning routine: Wipe lenses and panels gently with a microfiber cloth, then use a non-abrasive solar panel cleaning spray if needed. Rinse with a damp cloth and dry with a soft brush or microfiber towel. Avoid harsh solvents near LEDs and seals.
What You’ll Need
- microfiber cleaning cloth for solar pathway lights
- non-abrasive solar panel cleaning spray for outdoor lights
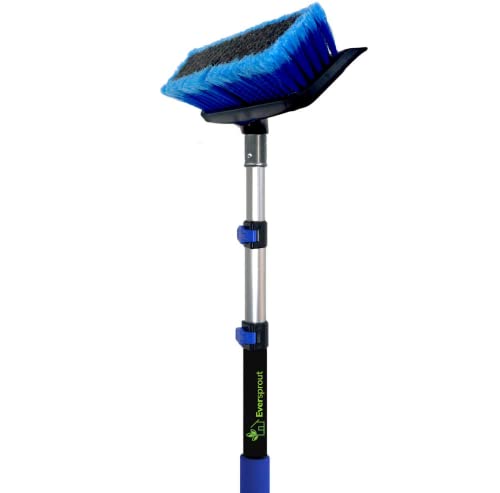
- soft-bristle cleaning brush for solar pathway light panels
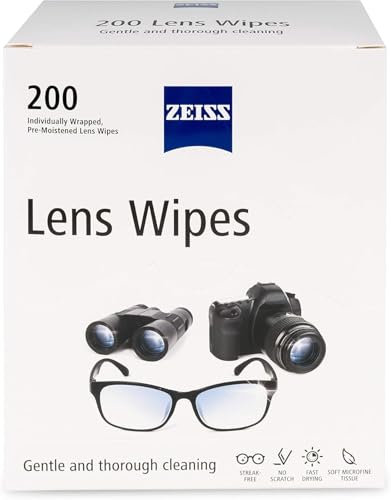
- lens cleaning wipes for outdoor solar lights
- isopropyl alcohol wipes for solar panel lenses

Before You Start
Before cleaning, ensure the lights are powered down or disconnected if possible to avoid short circuits. Clean on a mild day to prevent rapid surface drying that could leave streaks. Protect surrounding plants and soil from any cleaners, even mild solutions. Do not use abrasive pads or strong solvents, which can scratch lenses or degrade seals. Expect a cleaning session to take 10–20 minutes per set, depending on number and exposure.
Step-By-Step: How To Clean Solar Pathway Lights
- Turn off the lights and allow any moisture to evaporate to avoid water ingress during cleaning.
- Gently dust the exterior surface with a dry microfiber cloth to remove loose dirt.
- Wipe the lens with a lens cleaning wipe for outdoor solar lights to remove smudges without scratching the surface.
- For stuck grime on the solar panel, spray a light mist of non-abrasive solar panel cleaning spray for outdoor lights onto a microfiber cloth (never directly onto the panel).
- Use the soft-bristle cleaning brush for solar pathway light panels to lift debris from crevices around the panel and housing with gentle strokes.
- Wipe the panel edge and housing with the microfiber cloth to remove residue, then inspect for streaks. If streaks remain, use isopropyl alcohol wipes for solar panel lenses sparingly on a cloth to remove oily fingerprints.
- Dry all surfaces with a clean, dry microfiber cloth to prevent water spots and ensure optimal light transmission.
- Reassemble any parts, reconnect power if needed, and test the lights to confirm full brightness after cleaning.
- Establish a routine: light cleaning every 1–3 months depending on climate and nearby debris accumulation.
- Store or cover fixtures during extreme weather if possible to reduce the need for frequent cleaning.
- Check seals and gaskets periodically for wear; replace damaged components to maintain efficiency and water resistance.
- Document any persistent issues with light output for future reference or professional assessment.
Troubleshooting
| Symptom | Likely Cause | Fix | Prevention |
|---|---|---|---|
| Lights dim after cleaning | Dull lens or film on panel | Re-clean with microfiber cloth and lens wipes; avoid over-wetting | Regular, gentle cleaning schedule |
| Panel won’t charge | Dust or moisture inside housing | Open housing if safe to do so and dry thoroughly | Seal integrity checks and venting during installation |
| Streaks on lens | Residue from cleaner | Wipe with dry cloth or alcohol wipe lightly | Use minimal cleaner and wipe with microfiber cloth |
| Uneven brightness | Panel shading or obstruction | Clear debris from around fixture; adjust angle if needed | Position for maximum sun exposure |
Common Mistakes
- Using abrasive pads or harsh solvents that scratch lenses or erode seals
- Directly spraying cleaners onto solar panels; liquids can seep into the housing
- Over-wetting or leaving moisture in seals, which can accelerate corrosion
- Skipping regular maintenance, leading to persistent low brightness
Tips For Best Results
- Clean on a shaded day to prevent rapid drying and streaking
- Test a small area first when using a new cleaning product
- Use a dedicated microfiber cloth for sensitive solar components
- Schedule seasonal checks for sealing and housing integrity
Call A Professional
Consider professional help if lights show persistent dimming after cleaning, panels are cracked, or seals leak water. Seek a pro if the fixture requires disassembly beyond basic cleaning or if wiring appears damaged.
FAQ
How often should I clean solar pathway lights?
Aim for every 1–3 months, depending on weather conditions, pollen, and nearby dust exposure.
Can I use dish soap to clean solar panels?
Casual detergents can leave residues; use a mild, non-abrasive cleaner or dedicated solar panel spray.
What cleaning products are safe for solar lenses?
Lens wipes and microfiber cloths paired with light, non-abrasive cleaners are safest.
Is it safe to clean while the lights are on?
Best practice is to power down first to prevent short circuits or accidents.
Buying Guide
When choosing tools and supplies to maintain solar pathway lights, consider the following factors:
- Size and type of fixtures: Larger fixtures or enclosed housings may require longer brushes or specialty brushes to reach corners.
- Noise level of brushes or cleaners is typically minimal, but select soft-bristle brushes for delicate lenses.
- Energy efficiency is rarely affected by cleaning, but clearer panels improve charging efficiency and brightness.
- Controls and placement: Clean around control units and mounting brackets without disrupting wiring or seals.
- Durability and weather resistance: Choose wipe materials and sprays labeled safe for outdoor use and compatible with plastics and glass.
For many homeowners, a simple kit containing a microfiber cloth, soft-bristle brush, lens wipes, and a non-abrasive solar panel spray provides a complete, safe cleaning solution. If a fixture is especially dirty due to environmental conditions, consider scheduling a professional cleaning cadence to maintain peak performance.