Oxidized brass can develop a dull, dark patina over time, affecting its shine and luster. With the right approach, homeowners can restore brass objects to near-original condition without professional help. This guide covers practical methods, from gentle polishing to stronger chemical cleaners, while emphasizing safety and surface care.
Quick Answer
For light tarnish, use a brass tarnish remover paste or brass polishing compound with a soft cloth, then buff with a microfiber polishing cloth. For deeper oxidation, apply a brass oxidation remover chemical sparingly, follow with polishing, and seal with a protective finish. Always test a small area first.
What You’ll Need
- Brass tarnish remover paste 4oz
- Brass cleaning and polishing kit
- Brass polishing cloth set microfiber
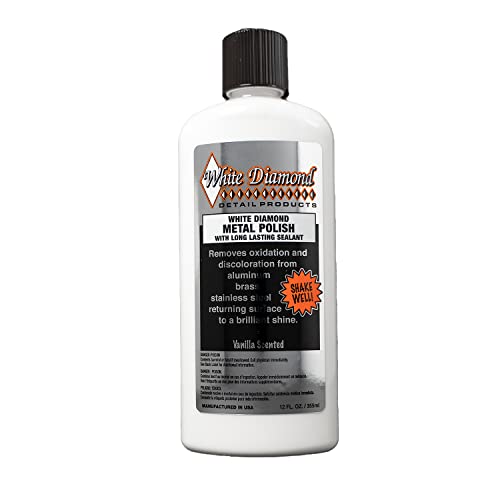
- Brass polishing compound for metal
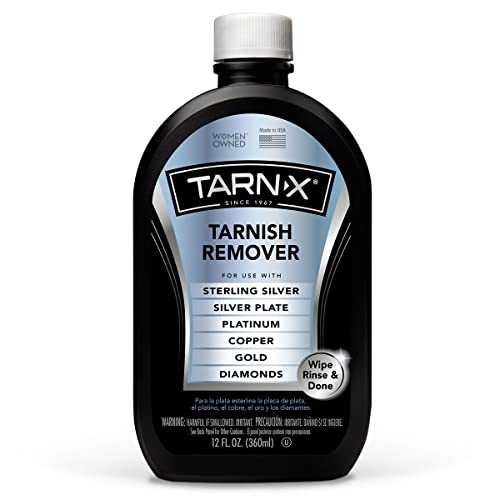
- Brass oxidation remover chemical

Before You Start
Clear the workspace and lay down a soft cloth to prevent scratching. Put on gloves to protect skin from chemicals and avoid inhaling fumes. Work in a well-ventilated area. Identify the brass item’s finish; raw brass is more receptive to chemical cleaners, while lacquered brass may require gentler methods or removal of lacquer first. Plan for a slow, patient approach, especially on intricate designs. Never mix cleaners and avoid abrasive tools on delicate surfaces.
Step-By-Step: How To Clean Oxidized Brass
- Assess the level of tarnish by rubbing a small, inconspicuous area with a microfiber cloth to determine whether a gentle approach will suffice.
- For light tarnish, apply a thin layer of brass tarnish remover paste on a microfiber cloth and rub in small circular motions until the metal regains shine.
- Wipe away paste residue with a clean, damp cloth, then buff with a brass polishing cloth set microfiber until the surface reflects evenly.
- For more stubborn oxidation, apply brass oxidation remover chemical according to the product’s instructions, using a soft brush for crevices and a microfiber cloth for broad surfaces.
- Rinse or wipe clean to remove all chemical residue, then dry thoroughly with a lint-free cloth to prevent water spots.
- Apply a small amount of brass polishing compound for metal to restore a protective luster and reduce future tarnish. Buff with a clean microfiber cloth.
- If the piece has a lacquer coating, check the manufacturer’s guidance. If the coating is intact, avoid harsh chemical contact; otherwise carefully remove the coating before proceeding with polishing.
- Inspect edges, engravings, and joints to ensure even cleaning. Repeat steps as needed, always testing on a hidden area first.
- Finish with a light, even buff across the entire surface to achieve uniform brightness and minimize streaks.
- Store your cleaning tools and the item in a dry, low-humidity space to slow future oxidation.
- Document the method that worked best for future maintenance, so you can repeat the process efficiently next time.
Troubleshooting
| Symptom | Likely Cause | Fix | Prevention |
|---|---|---|---|
| Dull finish returns after a day | Re-oxidation starts quickly when exposed to air | Apply a light coat of brass polish and consider a sealant finish | Keep item sealed from humidity; store in a dry place |
| Streaks or discoloration | Uneven application or residue | Reapply polish in small sections and buff with a clean cloth | Work in consistent lighting and follow product instructions |
| Scratches appearing | Overly abrasive tools used | Switch to softer cloths and avoid metal brushes | Use gentle tools from the start |
| Chemical odor strong | Insufficient ventilation | Move to a ventilated area and follow safety warnings | Always use in a well-ventilated space |
Common Mistakes
- Using abrasive pads on delicate or detailed brass work, which can scratch or dull fine areas.
- Over-application of powerful chemicals that can remove patina or damage coatings.
- Skipping a final buff and rinse, leaving residues that attract more tarnish.
- Not testing cleaners on a hidden area before applying to the entire piece.
Tips For Best Results
- Test cleaning products on a small, inconspicuous spot before full application.
- Always buff with a microfiber cloth for a consistent finish and to minimize lint.
- Consider using a dedicated brass polishing kit for better results and convenience.
- Store brass items properly after cleaning to slow tarnish buildup.
- Protect finished surfaces with a clear sealant if the object is frequently exposed to moisture.
Call A Professional
Seek professional help if the brass item is antique, heavily corroded, or has significant structural concerns. Stop cleaning and consult a restorer if you notice loosening joints, peeled coatings, or altered metal color that could indicate deeper damage. If cleaning requires removing protective coatings or if the item is a valuable heirloom, consider a professional evaluation.
FAQ
Can I use household cleaners on brass?
Household cleaners may contain additives that can harm brass; use products designed for brass or metal polishing.
Is it safe to use lemon juice on brass?
Acidic citrus can work for light tarnish but can be harsh; use with caution and test first.
How often should I clean brass items?
Clean as needed to maintain shine, then protect with a polish to slow tarnish.
Will brass polishing protectants leave a residue?
Most modern polishing products leave minimal residue when used as directed and buffed thoroughly.
Buying Guide
When selecting products to clean and maintain brass, consider the following factors:
- Size and surface area — larger items may require bigger tools or multiple applications.
- Type of tarnish — light tarnish responds to paste or polish, heavy oxidation may need chemical removers.
- Finish compatibility — lacquered or plated brass may limit cleaning methods; check compatibility.
- Noise level — mechanical polishers can be loud; hand polishing is quieter but slower.
- Energy efficiency — choose manual or low-energy devices when possible to reduce consumption.
- Controls — simple, easy-to-use products reduce the risk of over-application.
- Placement — store cleaning supplies away from heat and humidity; use ventilated areas during use.
- Maintenance schedule — establish a routine to prevent heavy oxidation and reduce future effort.
With the right tools, brass items can regain their original luster. Are you ready to choose a kit that fits your needs and start restoring shine without risking damage?