Masking tape often leaves a stubborn residue on wood, metal, painted surfaces, or plastic. Selecting the right adhesive remover and applying careful technique can restore surfaces without damage. This guide covers practical steps, safety notes, and proven tools to remove masking tape residue effectively for American homes and workshops.
Quick Answer
Use a citrus-based adhesive remover or an adhesive remover for masking tape residue first, test in a hidden spot, and apply with a plastic scraper or putty knife to lift residue. For stubborn spots, switch to a blade scraper set and finish with a clean cloth. Always follow product directions and ventilate the area.
What You’ll Need
- Adhesive remover for masking tape residue
- Citrus-based adhesive remover for masking tape
- Plastic scraper for adhesive residue removal
- Putty knife for tape residue removal
- Blade scraper set for adhesive residue removal
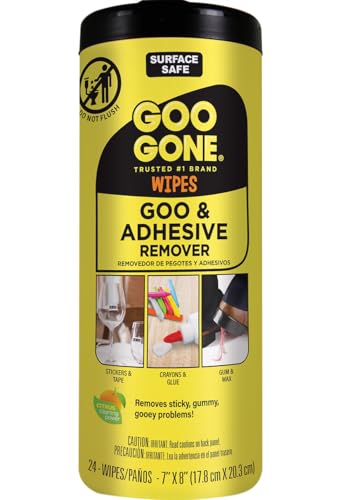
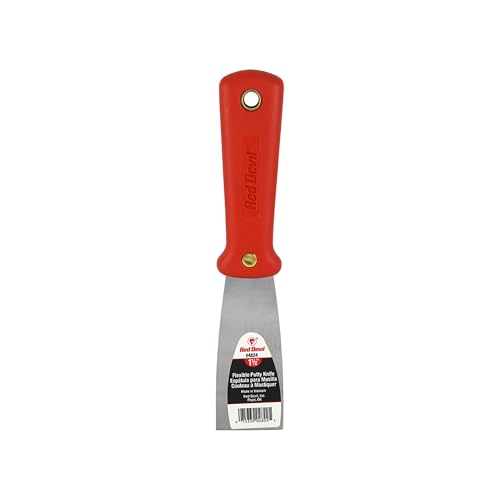
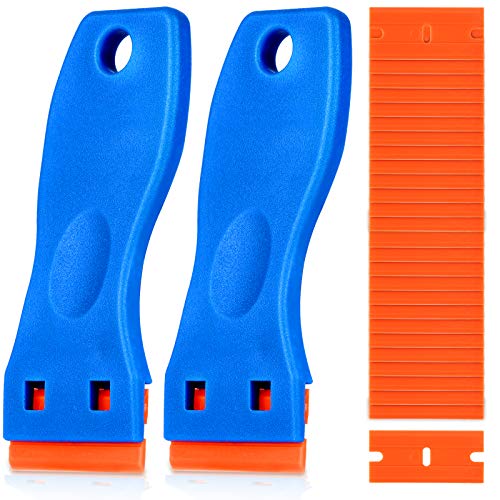
Before You Start
Prepare a small test area to ensure the remover won’t damage the surface. Work in a well-ventilated space and wear gloves to protect skin. For painted surfaces, apply a small amount of remover to a cotton pad and test along an inconspicuous edge first. Time estimates vary: plan for 15–45 minutes depending on the surface and the amount of residue. Do not use metal tools on soft plastics or fresh paint, which can scratch or lift material.
Step-By-Step: How To Remove Masking Tape Residue
- Gently peel or roll back a corner of the tape to expose the residue, avoiding excessive force that could tear the surface.
- Apply a small amount of adhesive remover for masking tape residue or citrus-based adhesive remover to the residue. Let it sit for 1–3 minutes to soften.
- Use a plastic scraper for adhesive residue removal to lift the softened film in a stable, low-angle motion. Do not gouge the surface.
- For stubborn areas, switch to a putty knife for tape residue removal with a gentle scraping angle. Keep the blade edge away from edges and corners.
- Wipe away dissolved adhesive with a clean cloth. If residue persists, reapply remover and repeat the scraping process.
- Rinse the area with a damp cloth or mild soap solution to remove any remaining remover. Dry thoroughly to prevent discoloration or warping.
- Inspect the surface under light for any lingering specks. Repeat steps as necessary, especially on textured surfaces.
- If the residue is on glass or smooth metal, consider a blade scraper set for adhesive residue removal for a final pass, using caution near edges.
- Finish with a light polish or sealant if the surface requires it (painted surfaces may need touch‑up afterward).
- Store leftover remover according to the label directions and keep away from heat sources and children.
Troubleshooting
| Symptom | Likely Cause | Fix | Prevention |
|---|---|---|---|
| Residue sticks after initial attempt | Insufficient dwell time | Reapply remover and let sit longer; avoid over-scraping | Test cleaner on hidden area first |
| Surface appearance dulled or scratched | Scraper edge too sharp or heavy pressure | Switch to softer edge or plastic scraper; use light pressure | Choose plastic over metal tools on soft surfaces |
| Streaks after cleaning | Residue oily film left behind | Rinse with water and wipe dry; use soap if needed | Work in small sections |
| Paint or finish lifting | Harsh remover or improper test | Use a milder remover and test first; stop if lifting occurs | Follow label directions precisely |
Common Mistakes
- Using metal blades on delicate finishes, which can scratch or gouge.
- Applying remover directly to salt or wax-coated surfaces without testing first.
- Rushing the process and scrubbing aggressively, leading to finish damage.
- Choosing an incompatible remover for the surface type (e.g., solvent-based on certain plastics).
Tips For Best Results
- Test any product on a hidden area before full application to gauge compatibility.
- Work in small sections to control residue and prevent spreading adhesive over a larger area.
- Keep a damp cloth handy to wipe away loosened adhesive immediately.
- Warm rooms and mild temperatures help the remover work more effectively, but avoid heat sources that can dry residues too quickly.
- For textured surfaces, use a soft-bristled brush along with the scraper to reach nooks.
Call A Professional
When to call a professional: if the residue is embedded in delicate veneers, painted surfaces with a vintage finish, or if the underlying material shows signs of damage after cleaning. Deep staining, extensive peeling, or persistent stickiness despite multiple attempts may require specialized tools or refinishing expertise.
FAQ
Can I use regular household cleaners to remove masking tape residue?
Household cleaners may work on some residues, but purpose‑made adhesive removers are typically more effective and safer for surfaces.
Is citrus-based remover safe on all surfaces?
Most citrus-based removers are safe on many surfaces, but always test first on a hidden spot and avoid prolonged contact with porous or untreated wood.
What should I do if the residue reappears after cleaning?
Reapply remover and re-wipe, ensuring the area is fully dried between steps. Reassess surface for any coatings that may need re-sealing.
How long should I wait after applying remover?
Most products recommend a short dwell time of 1–5 minutes; some tougher residues may require longer as indicated by the label.
Can I use alcohol or acetone instead of adhesive removers?
Alcohol or acetone can work on certain residues but may damage plastics or finishes. Use only if specified safe for your surface.
Buying Guide
When selecting products to tackle masking tape residue, consider size and surface compatibility, odor and ventilation requirements, and whether the kit suits both liquid removers and scrapers. Look for a citrus-based adhesive remover if you prefer a more natural solvent or a adhesive remover for masking tape residue for strong build-ups. A blade scraper set offers precision for tight corners, while a plastic scraper protects delicate materials. Ensure the product line includes a safe user instruction and clear safety data. For frequent touch-ups, a compact kit may be preferable for quick cleanup around kitchens, workshops, or garages.