Preparing granite surfaces before sealing is essential to achieve a flawless, long-lasting seal. This guide walks American homeowners through a practical, step-by-step process using common granite-specific cleaners and tools to ensure your countertop is properly prepped for sealing.
Quick Answer
Clean the surface with a pH-neutral granite cleaner, remove any oil or grease with a degreaser if needed, rinse thoroughly, and dry completely before applying granite sealer. Use a dedicated sealer kit and a clean applicator for best results.
What You’ll Need
- PH-neutral granite cleaner spray 32oz
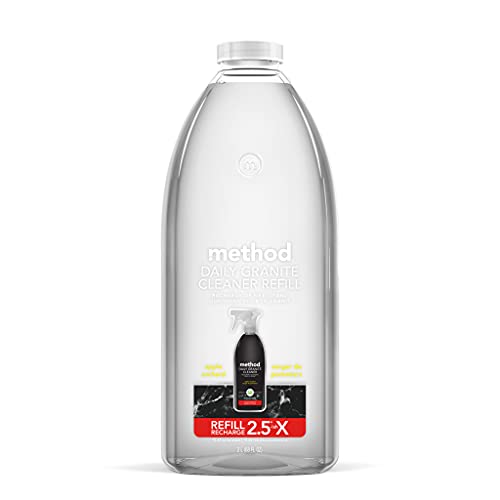
- Granite countertop cleaner degreaser 64 oz
- Granite sealer bottle and applicator kit
- Microfiber cleaning cloths for granite countertops 12×12 inches
- Granite countertop sealer kit with applicator and pad

Before You Start
Prepare a clean, well-lit workspace and ensure good ventilation. Clear the counter and protect nearby surfaces from spray or splashes. Put on disposable gloves if you have sensitive skin. Time estimates can vary, but plan for about 1–2 hours from start to complete drying. Important cautions include avoiding acidic cleaners that can etch granite and never seal a surface that is still wet or not fully dry. If the countertop is heavily stained or porous, more thorough cleaning may be needed to remove residue before sealing.
Step-By-Step: How To Clean Granite Before Sealing
- Inspect the surface for visible stains, grease, and residue. Note areas that feel slick or show fingerprints to target during cleaning.
- Dust and wipe loose debris with a dry microfiber cloth to prevent scratching during cleaning.
- Spray a pH-neutral granite cleaner onto a clean microfiber cloth or directly onto the countertop, following the product instructions.
- Wipe in a consistent, circular or straight pattern, paying attention to seams and edges where grime can accumulate.
- For oily or ingrained residues, apply a granite countertop cleaner degreaser and let it sit briefly per the label before wiping away.
- Rinse the surface with a clean, damp microfiber cloth to remove cleaning residues. Avoid leaving soapy film behind, which can interfere with sealing.
- Dry the countertop completely with a fresh microfiber cloth. A dry surface ensures the sealer bonds evenly.
- Inspect the surface again. If any dull patches or stains remain, repeat the cleaning process at least once more.
- Test a small, inconspicuous area with the sealer kit to confirm compatibility before broader application.
- Proceed to sealing only after the surface is completely dry and free of residue.
- Keep the area well-ventilated during sealing and follow the sealer’s instructions for application and cure time.
Troubleshooting
| Symptom | Likely Cause | Fix | Prevention |
|---|---|---|---|
| Sticky or cloudy film after cleaning | Residue from cleaner or incomplete rinse | Re-wipe with a clean damp cloth and dry completely | Date-stamp the last cleaning to ensure proper drying time |
| Stains persist after cleaning | Deep oil or organic stain | Apply a degreaser again and re-clean, then rinse | Address spills promptly to prevent staining |
| Uneven sealing results | Surface not fully dry or contaminated | Ensure full dryness; re-clean and fully dry before sealing | Avoid sealing over damp areas |
| Sealant beads or streaks | Over-application or poor surface prep | Wipe off excess with a microfiber cloth after application | Follow kit directions precisely |
Common Mistakes
- Using acidic or abrasive cleaners that can etch granite
- Sealing a wet or damp surface
- Skipping the degreaser step on oily countertops
- Applying too much sealer in one pass, causing pooling
- Not allowing full cure time between sealer layers
Sticking to neutral cleaners and thorough drying helps prevent these issues and leads to a consistent, attractive seal on granite countertops.
Tips For Best Results
- Use a dedicated microfiber cleaning cloths for granite countertops 12×12 inches to lift dirt without scratching the surface.
- Keep the work area free of dust and avoid cleaning during windy days or in dusty rooms to prevent new particles from settling.
- Follow product instructions precisely for both cleaners and sealers to maximize durability.
- Use a granite sealer bottle and applicator kit or a separate granite countertop sealer kit with applicator and pad for uniform coverage.
- Test the sealer on a small area to verify color and finish changes before full application.
Call A Professional
Consider contacting a pro if the granite has severe etching, deep staining, or you are unsure about the sealer compatibility. Stop and seek help if:
- The surface has extensive cracks or damage that may require resurfacing.
- You notice persistent dullness after multiple clean-and-seal attempts.
- There are questions about whether the countertop is granite or another stone type requiring a different approach.
FAQ
Can I seal granite the same day I clean it?
Yes, provided the surface is completely dry and free of residue. Sealants bond best to dry surfaces.
Is a degreaser necessary for all granite countertops?
Not always, but it helps when oily residues are present or when standard cleaning leaves a film.
How long should the sealer cure before use?
Follow the sealer’s directions; most require several hours to cure before light use.
Should I reseal yearly?
The frequency depends on usage, countertop type, and sealer product. Perform a simple water test to gauge seal integrity over time.
What if the color changes after sealing?
Minor color variation is possible with some sealers; re-test on a hidden area and consult the product guidelines if concerned.
Is it okay to use vinegar on granite before sealing?
No — acidic cleaners can etch stone; use pH-neutral products designed for granite.
Where can I buy recommended supplies?
Ambitious DIYers can source a complete kit and compatible cleaners and pads from reputable home improvement retailers.
Buying Guide
Choosing the right products for cleaning and sealing granite affects results and durability. Consider the following factors:
- Size and coverage: Select a cleaner and sealer kit with sufficient volume for your countertop size and future touch-ups.
- Noise level and ease of use: Simple spray bottles and applicator kits reduce mess and effort during cleaning and sealing.
- Energy efficiency: Not directly applicable to cleaning; choose efficient, low-dispersion formulas that minimize waste.
- Controls and safety: Look for low-odor, low-VOC formulas for safer indoor use and better air quality.
- Placement and accessibility: Keep kit components together (sealer and pad) for convenient, uniform application around sinks and corners.
For best results, pair a pH-neutral granite cleaner with a compatible granite sealer kit, use microfiber cloths for precision, and follow the manufacturer’s directions. If evaluating multiple kits, compare the included accessories (pad type, applicator quality) and the drying times stated by the manufacturer. A well-chosen combination simplifies prep, application, and maintenance, delivering a resilient, glossy granite surface that holds up to daily use.