The Cuisinart air fryer is a convenient kitchen appliance, but proper cleaning extends its life and keeps meals tasting fresh. This guide walks through a simple, safe approach to removing grease, crumbs, and residue from Cuisinart models while preserving nonstick surfaces and moving parts.
Whether you’re refreshing after a week of use or tackling a stubborn buildup, following a routine cleaning process helps prevent odors and uneven cooking. The techniques below emphasize using gentle tools and routine maintenance to maintain peak performance without harsh chemicals.
Quick Answer
Let the unit cool completely, unplug it, and remove the basket and pan. Wash removable parts with warm, soapy water using a non-scratch brush, then wipe the interior and exterior with a damp microfiber cloth. For tough grease, apply a light spray of degreaser on coatings only, rinse, dry, and reassemble. Schedule a quick wipe-down after each use to prevent buildup.
What You’ll Need
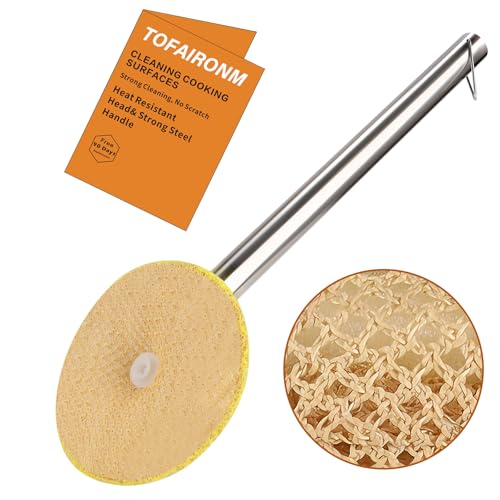
- Cuisinart air fryer cleaning brush
- Non-scratch nylon scrub brush for air fryer basket
- Soft microfiber cloth for cleaning air fryer
- Silicone spatula and scraper for air fryer basket cleaning
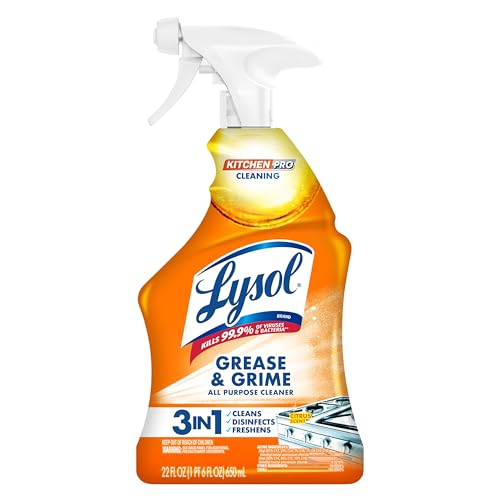
- Appliance degreaser spray for kitchen appliances

Before You Start
Safety first: unplug the unit and let it cool completely before handling any parts. Remove the basket and pan, and place the unit on a stable, heat-resistant surface. Use gentle, non-abrasive tools to avoid scratching nonstick coatings. Plan for 10–20 minutes for a routine cleaning, longer if there is heavy residue. Keep liquids away from the heating element and power cord to prevent damage.
Step-By-Step: How To Clean A Cuisinart Air Fryer
- Unplug the air fryer and let it cool fully, then remove the basket and pan.
- Wipe the interior with a damp microfiber cloth to remove loose crumbs, starting at the top and working downwards.
- Soak removable parts in warm, soapy water for 5–10 minutes to loosen grease.
- Gently scrub the basket and pan with a non-scratch nylon brush to lift stuck-on residue; avoid harsh metal tools.
- Use a Cuisinart air fryer cleaning brush or silicone spatula to dislodge stubborn residue from crevices without scratching.
- Rinse all removable parts, then dry with a clean microfiber cloth before reassembling.
- Wipe the exterior with a damp microfiber cloth. For greasy surfaces, spray a small amount of appliance degreaser spray on a cloth and wipe, then remove any residue with a dry cloth.
- Reassemble the unit and run a short, empty bake cycle to remove any remaining cleaning scent after the interior is fully dry.
Troubleshooting
| Symptom | Likely Cause | Fix | Prevention |
|---|---|---|---|
| Greasy film on interior | Residual oil from cooking | Wipe with damp cloth, then a light degreaser, rinse, dry | Wipe after each use |
| Stuck-on residue in basket | Grease baked on during high-temp runs | Soak and scrub with nylon brush | Pre-soak or line basket with parchment |
| Odor after cleaning | Incomplete dry or lingering food smells | Run an empty bake cycle, ensure complete dry | Dry parts thoroughly before reassembly |
| Scratched nonstick coating | Using metal tools | Switch to non-scratch brushes and spatulas | Use only soft tools |
| Interior not drying | Moist cloth left inside | Wipe dry and air-dry with door ajar | Dry promptly after cleaning |
Common Mistakes
- Using abrasive scrubbers or metal utensils on nonstick surfaces
- Submerging the main unit in water or cleaning with running water
- Forgetting to dry parts before reassembly which can cause spurious odors or corrosion
- Overusing degreasers, which can leave residue if not fully rinsed
- Neglecting to clean the interior after high-fat cooking sessions
Tips For Best Results
- Clean the appliance after every few uses to minimize buildup and odors
- Use the silicone spatula to scrape loose debris without scratching
- Keep a dedicated microfiber cloth on hand for quick touch-ups
- Always dry all parts completely before reassembling to prevent moisture in electronics
- Store cleaners and brushes in a designated spot near the kitchen to encourage routine maintenance
Call A Professional
Seek professional service if the unit shows signs of electrical issues, overheating, or abnormal noises during operation. Do not attempt internal disassembly. Stop using the device if the exterior, gasket, or seals show damage, or if cleaning fails to restore performance.
FAQ
Can I use hot water to clean the interior?
Yes, but avoid soaking the main housing; use a damp cloth and mild soap.
Is a degreaser necessary for routine cleaning?
Not for every session; use a degreaser only when grease buildup is stubborn or after heavy-fat cooking.
What should I do if the nonstick coating scratches?
Discontinue use on the scratched area and consider professional evaluation if performance is affected.
How often should I clean the air fryer?
Wipe after each use and perform a thorough clean weekly or after cooking oils or fatty foods.
Can I put these parts in a dishwasher?
Check the user manual; many baskets and pans are dishwasher-safe, but main unit components are not.
Buying Guide
When choosing accessories for cleaning a Cuisinart air fryer, consider compatibility with your model and the nature of cleaning tasks. A non-scratch nylon scrub brush preserves coatings, while a soft microfiber cloth enables quick wipe-downs without leaving fibers. A silicone spatula and scraper helps reach corners without causing damage. An appliance degreaser spray is useful for heavier buildup, though it should be used sparingly and with proper rinsing. Think about how often you clean and the size of the unit to determine how many tools you need for efficient maintenance.
Key Buying Factors
Size and capacity influence how easily you access all areas during cleaning. Noise level and energy efficiency matter for overall kitchen use, while simple, intuitive controls aid routine maintenance. Placement within the kitchen should keep the unit away from heat sources and allow easy access to remove and clean the basket. Compare models that simplify disassembly and provide clearly labeled parts for cleaning. Remember that the right cleaning tools can extend the life of the appliance and keep meals tasting fresh.