Buffing wheels are essential for achieving a smooth, polished finish on metal and other materials. Regular cleaning helps maintain performance, extend wheel life, and prevent cross-contamination between compounds. This guide provides practical steps, recommended tools, and safety tips tailored for American workshops and DIYers.
Quick Answer
Keep a dedicated buffing wheel cleaning routine using a brush, dresser block, and a suitable cleaner solvent. After each session, remove debris with a cleaning pad and inspect for wear. Perform a quick pass with a bench buffer wheel cleaning kit if available to maintain balance and performance.
What You’ll Need
- buffing wheel cleaning brush for dry debris
- buffing wheel cleaner solvent or a manufacturer-approved solvent
- buffing wheel dresser block to restore wheel surface
- buffing wheel cleaning pad for gentle wipe-downs
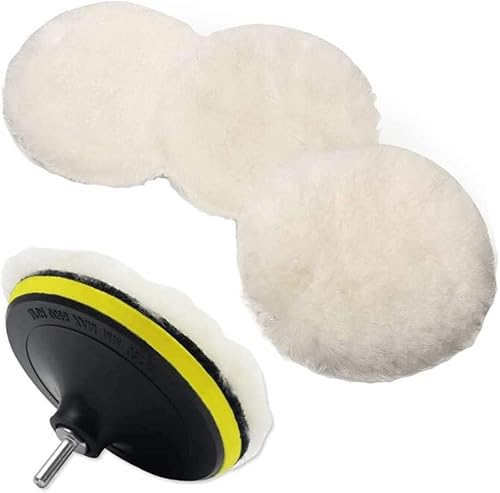
- bench buffer wheel cleaning kit containing a pad and optional accessories


Before You Start
Ensure the buffer is powered off and unplugged before maintenance. Secure the work area to prevent slipping on metal filings or solvent spills. Check that the buffing wheel is not hot from recent use, as solvents and cleaners may react with heat. Wear eye protection, a dust mask, and gloves. Avoid using water-based cleaners on resin-bonded wheels unless the manufacturer approves it, and never use flammable solvents near sparks or open flames. Plan a clean, well-ventilated space and allocate 15–30 minutes for a thorough cleaning session.
Step-By-Step: How To Clean A Buffing Wheel
-
Power down the machine and disconnect the power cord. Remove the wheel guard if necessary to access the wheel edge.
-
Inspect the wheel for wear, glazing, or embedded metal particles. If the surface is heavily glazed or damaged, consider replacing the wheel.
-
Use the buffing wheel cleaning brush to gently lift and sweep away loose compound, lint, and debris from the wheel face and sides.
-
Apply a small amount of buffing wheel cleaner solvent onto a buffing wheel cleaning pad or lint-free cloth. Wipe the wheel surface in a consistent, overlapping pattern to remove residue.
-
For stubborn residue, work gradually with the buffing wheel dresser block along the wheel edge to re-expose fresh abrasive materials. Do not press too hard to avoid deep grooves.
-
Wipe the wheel again with a clean pad or cloth to remove loosened particles. Inspect for uniform texture and any glazing or waviness.
-
Rebalance the wheel by spinning it at slow speed and listening for unusual vibration. If needed, perform a light dressing with the dresser block to restore even contact.
-
Optionally, run a brief test with a trial piece or non-critical scrap to confirm cleaning effectiveness and polish behavior before resuming full work.
-
Store the cleaning tools in a dry, ventilated area away from direct sunlight and heat sources. Keep solvents closed and away from children or pets.
-
Record any maintenance notes for future reference, including solvent type, wheel condition, and date of cleaning.
Troubleshooting
| Symptom | Likely Cause | Fix | Prevention |
|---|---|---|---|
| Wheel surfaces remain glazed after cleaning | Residual polishing compound or embedded particles | Repeat cleaning with solvent and dress the edge lightly | Clean promptly after use to prevent buildup |
| Excess vibration during operation | Wheel out of balance or damaged | Replace wheel or re-dress with care | Regular inspection and true balancing |
| Cleaner dulls or removes wheel abrasive | Overuse of solvent or incorrect pad | Switch to a milder cleaner or softer pad | Follow manufacturer guidelines for cleaning frequency |
| Fuzz or loose abrasive on workpiece | Debris carried from wheel | Clean wheel and workpiece thoroughly before continue | Use a dedicated cleaning pad and brush |
Common Mistakes
- Using water-based cleaners on systems not approved by the wheel manufacturer
- Applying excessive force with the dresser block, causing gouges
- Forgetting to unplug and secure the machine before maintenance
- Failing to wear protective gear, increasing exposure to dust and solvents
Tips For Best Results
- Clean the wheel after each project to prevent cross-contamination of compounds.
- Keep a dedicated cleaning kit to avoid mixing tools across projects.
- Balance wheels regularly; a well-balanced wheel reduces heat buildup and chatter.
- Label wheels with their intended polish or grit to minimize errors during tooling changes.
- Store solvents in a labeled, closed container away from heat sources.
Call A Professional
Seek professional help if the buffing wheel shows significant wear, cracks, or unusual cracking sounds during operation. Stop using the wheel if it produces excessive heat, visible belt wear, or vibrations that do not diminish after dressing. A trained technician can assess the wheel’s integrity, verify alignment, and advise on replacement intervals.
FAQ
How often should I clean a buffing wheel?
Cleanings should occur after each use or when residue buildup becomes noticeable to maintain performance and reduce contamination risk.
What solvent is best for cleaning a buffing wheel?
Use the solvent recommended by the wheel’s manufacturer. If unsure, opt for a mild cleaner intended for polishing compounds and avoid aggressive solvents that can damage the wheel.
Can I use water to clean a buffing wheel?
Only if the manufacturer approves it; otherwise, water can degrade certain wheel materials and bonding.
Is dressing necessary after cleaning?
Yes, light dressing helps expose fresh abrasive material and maintain even contact with the workpiece.
Buying Guide
When selecting tools for cleaning a buffing wheel, consider size, compatibility, and workflow. A buffing wheel cleaning brush should be gentle enough to lift debris without scratching the wheel. A buffing wheel cleaner solvent should be compatible with the wheel type—wood, metal, or resin-bonded wheels have different chemical needs. The buffing wheel dresser block helps restore wheel surface, while a buffing wheel cleaning pad provides a soft wipe-down. For routine maintenance, a bench buffer wheel cleaning kit offers an integrated solution. Ensure you have a well-ventilated space and store all cleaning products safely.