Suction cups are common in home organization, aquarium setups, and glazing projects. Regular cleaning keeps them sticking reliably and prevents residue buildup that can compromise suction. This guide provides practical, step-by-step methods using common tools and targeted cleaners to refresh suction cups without damaging surfaces.
Armor against grime, mold, and sticky residues with a method that fits different cup materials and surfaces. The steps below cover everyday maintenance and deeper cleans for stubborn buildup.
Quick Answer
For quick maintenance, rinse the suction cup with warm water, scrub gently with a silicone scrub brush or a suction cup cleaning brush, and air-dry completely before reusing. For stubborn residue, soak in warm soapy water or a mild vinegar solution, then scrub and rinse well.
What You’ll Need
The following tools and supplies are recommended for effective suction cup cleaning. The list prioritizes items that address common suction cup materials and residue types.
- suction cup cleaning brush
- suction cup cleaner kit
- silicone scrub brush for suction cups
- window glass suction cup cleaner tool
- sticky residue remover for suction cups
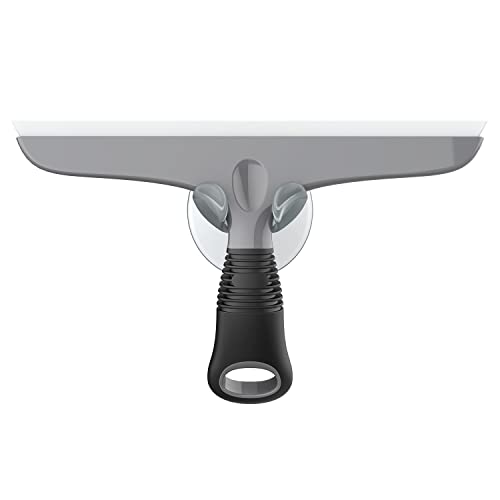

Before You Start
Prepare a clean workspace and gather supplies. Check the suction cup for cracks or worn seals; damaged cups should be replaced. Use warm water or a mild cleaning solution, avoiding harsh solvents that can degrade silicone or rubber. Protect delicate surfaces by testing the cleaner on an inconspicuous area first. Plan for 10–20 minutes per cleaning session depending on buildup, and ensure the area is dry before reattachment.
Step-By-Step: How To Clean Suction Cups
- Detach the suction cup from the surface and inspect for cracks or deformation.
- Rinse the cup under warm running water to remove loose debris.
- Prepare a gentle cleaning solution: a few drops of mild dish soap in warm water works well.
- Use a silicone scrub brush for suction cups or a dedicated suction cup cleaning brush to scrub the cup, focusing on the rim and the underside where grime collects.
- For stubborn sticky residue, apply a small amount of sticky residue remover for suction cups or soak the cup in the solution for 5–10 minutes, then scrub again.
- Rinse thoroughly with clean water to remove all soap and residue. If any film remains, repeat the soaking and scrubbing steps.
- Dry the cup completely with a lint-free cloth before reattaching. Ensure the mounting surface is dry as well.
- Reattach the suction cup to a smooth, clean surface and test its grip before placing objects under load.
Troubleshooting
| Symptom | Likely Cause | Fix | Prevention |
|---|---|---|---|
| Cup won’t stick | Residue on cup or surface | Clean both surfaces thoroughly and dry completely | Regular maintenance after use |
| Bubbling or air leakage | Cracks or wear in the cup | Replace the cup | Inspect before use; avoid overloading |
| Stains or film persists | Oil or mineral buildup | Soak in warm soapy water; use residue remover if needed | Clean weekly in high-use areas |
| Surface damage when removing | Rim adhered to delicate surface | Gently lift at a corner with even pressure | Choose appropriate surface for suction cup type |
Common Mistakes
- Using harsh solvents like acetone on silicone or rubber cups, which can degrade material.
- Leaving suction cups wet on porous surfaces that trap moisture and promote mold.
- Forgetting to dry both cup and surface before reattachment, leading to immediate slip.
- Overloading suction cups beyond their rated capacity, causing early failure.
Tips For Best Results
- Prefer warm, not hot, water. Very hot water can warp some rubber compositions.
- Use a dedicated tool for cleaning to avoid transferring oils back to surfaces.
- Periodically inspect seals and rims for cracks and replace as needed.
- Store suction cups dry and flat to maintain their shape and suction performance.
Call A Professional
Call a professional if a suction cup shows visible cracks, if there is persistent failure to adhere after cleaning, or if mounting on critical surfaces (like glass shower enclosures or aquaria) is repeatedly unsuccessful. Seek expert help when high-load or safety-critical applications rely on the suction cup performance.
FAQ
How often should I clean suction cups?
Clean after heavy use or weekly in high-humidity areas to prevent buildup.
Can I use vinegar or bleach to clean suction cups?
Vinegar is generally safe in moderate amounts, but avoid bleach on silicone or rubber components. Use mild cleaners whenever possible.
What is the best way to remove difficult residue?
Soak in warm soapy water, then scrub with a silicone brush or dedicated cleaning tool. For stubborn residue, a dedicated sticky residue remover can help.
Can old suction cups be reused?
Only if the cup shows no signs of wear, cracks, or deformation. Replace any suspect cups to maintain adhesion.
Should I dry suction cups after cleaning?
Yes. Dry both cup and surface thoroughly before reattachment to maximize suction.
Is there a difference between glass and plastic cups?
Most cleaning methods apply to both, but glass surfaces should be kept dry and free from abrasive cleaners that could scratch.
What surfaces are unsuitable for suction cups?
Rough, porous, or highly textured surfaces reduce suction effectiveness and may cause damage over time.
Buying Guide
When choosing products to support suction cup maintenance, consider size, material compatibility, and the cleaning tools you’ll use. A well-rounded kit can streamline maintenance and extend the life of your suction cups.
- Size and compatibility: Ensure the suction cup cleaner kit includes brushes that fit the cup rims you own and can reach tight seams.
- Material compatibility: For silicone or rubber cups, select silicone-based brushes and non-abrasive cleaners to prevent damage.
- Noise and energy efficiency: Cleaning tools generally don’t impact energy use, but choose manual brushes for portability and quiet operation.
- Controls and ease of use: Ergonomic handles and stable brushes improve cleaning accuracy and reduce hand fatigue.
- Placement and storage: Keep kits in a dry, accessible spot near the cleaning area to encourage regular maintenance.
Choosing a comprehensive kit, such as a suction cup cleaner kit with a silicone scrub brush and dedicated sticky residue remover, can simplify routine maintenance and help keep suction cups performing reliably. Consider your typical surfaces and buildup to select the right blend of tools and cleaners.