Kitchen hoods accumulate grease and grime from daily cooking, reducing ventilation efficiency and causing odors. A thorough cleaning protects the hood’s finish, maintains airflow, and extends the life of the vent system. The steps below outline a practical method using common tools and proven products designed for American kitchens.
Quick Answer
Ask a friend to help, protect nearby surfaces, and follow these steps: remove filters, degrease with a spray or kit, scrub with non-scratch pads, rinse with warm water, dry completely, then polish stainless steel with a cleaner and microfiber cloth for a streak-free finish.
What You’ll Need
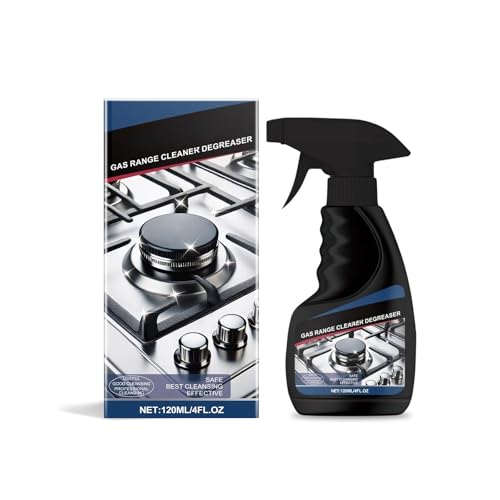
- Stainless steel hood degreaser spray 24oz
- Kitchen vent hood cleaning brush set
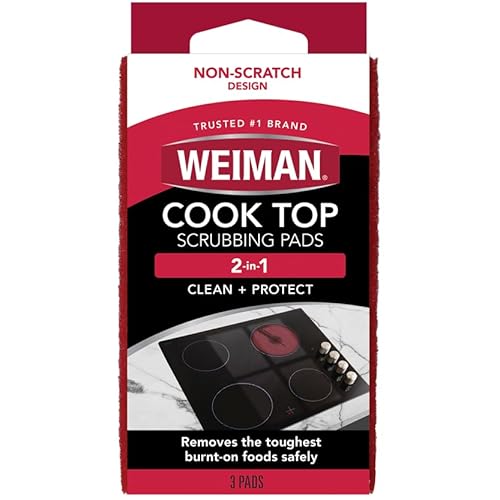
- Non-scratch scrub pads for range hood cleaning
- Stainless steel cleaner microfiber cloths 12 pack
- Range hood vent cleaning kit with degreaser

Before You Start
Preparation helps prevent damage and speeds up cleaning. Turn off the hood and disconnect any power if safe to do so. Work in a well-ventilated area and wear gloves to protect skin from grease and cleaners. Remove filters and set aside. Expect 30–60 minutes for the initial cleaning, plus extra time if the vent is heavily coated. Avoid abrasive tools or acidic cleaners on brushed stainless steel, which can scratch or dull the finish.
Step-By-Step: How To Clean A Kitchen Hood
- Remove and soak filters. Take out baffle or mesh filters and soak them in warm, soapy water for 10–15 minutes to loosen heavy grease.
- Apply degreaser to the hood exterior, focusing on greasy streaks and corners. Use the stainless steel hood degreaser spray 24oz or range hood vent cleaning kit with degreaser as directed.
- Scrub with non-scratch pads. Use the non-scratch scrub pads for range hood cleaning to lift grime without scratching stainless steel.
- Wipe and rinse. Wipe with a microfiber cloth to remove loosened grease, then rinse with a damp cloth to remove residue.
- Clean filters. While filters soak, scrub them with a brush set and rinse thoroughly. Allow to dry completely before reinstalling.
- Dry and polish the exterior. Use a fresh microfiber cloth and stainless steel cleaner microfiber cloths 12 pack to buff the surface to a streak-free shine.
- Inspect seals and vents. Check gaskets and duct openings for residue; wipe as needed to maintain proper airflow.
- Reinstall filters. Once dry, reinsert filters securely and power can be restored if previously connected.
- Final wipe-down. Give a final pass with a clean microfiber cloth to remove any remaining fingerprints or smudges.
- Maintenance plan. Schedule a monthly light wipe-down and a deeper quarterly clean depending on cooking frequency.
- Test run. Run the vent on high briefly to ensure airflow and listen for unusual noises that may indicate blockages.
- Safety check. Ensure no moisture is left around electrical components and that all parts are dry before reassembly.
Troubleshooting
| Symptom | Likely Cause | Fix | Prevention |
|---|---|---|---|
| Grease smears after cleaning | Residue left from degreaser | Rewipe with a clean microfiber cloth and rinse | Rinse thoroughly; wipe in the direction of the grain |
| Streaks appear after drying | Water mineral deposits or improper drying | Dry with a fresh cloth; buff with stainless steel cleaner cloths | Dry surfaces promptly after cleaning |
| Filters won’t fit back properly | Filters misaligned or warped | Re-check alignment and soak times; replace if warped | Handle filters gently; store properly |
| Unusual odor or weak airflow | Blockages in duct or fan | Inspect duct seals and clean accessible components; consider professional service for ducts | Regular maintenance to prevent buildup |
Common Mistakes
- Using harsh abrasive pads or steel wool on stainless surfaces
- Letting degreaser sit too long on painted or non-stainless areas
- Not drying surfaces fully, leading to water spots or corrosion
- Skipping filter cleaning and expecting better airflow
Following the recommended tools and steps minimizes these issues and keeps your hood looking and performing well.
Tips For Best Results
- Choose a degreaser formulated for stainless steel to protect the finish.
- Work from top to bottom to prevent re-greasing cleaned areas.
- Use microfiber cloths exclusively for final polishing to avoid lint.
- Schedule routine cleanings with a buffer period for heavy cooking days.
- Store tools in a dedicated kit to keep cleaning supplies ready.
Call A Professional
Stop and call a professional if you notice corrosion, persistent oily odors, mold growth, or compromised electrical wiring. If the hood or ducting shows signs of damage, if you’re unsure about electrical safety, or if you cannot access parts beyond the hood face, seek expert assistance.
FAQ
How often should I clean a kitchen hood?
Light maintenance can be done monthly, with a deeper clean every 3–6 months depending on cooking frequency and grease buildup.
Can I use regular dish soap on a stainless steel hood?
Dish soap works for light cleaning, but a dedicated degreaser provides better grease removal without dulling the finish.
Are there eco-friendly options for hood cleaning?
Yes, many degreasers offer low-VOC or water-based formulas that perform well on stainless steel without harsh fumes.
What if my hood has painted surfaces or non-stainless accents?
Use products labeled safe for painted surfaces and test on a small area first to avoid damage.
Should I remove the vent cover or operate the fan during cleaning?
Turn off power and, if safe, remove and clean components separately to reach all grease-prone areas.
Buying Guide
When choosing products for cleaning a kitchen hood, consider size, material compatibility, and ease of use. Key buying factors include:
- Size and compatibility: Ensure degreasers and brushes fit your hood model and filter size.
- Noise level: If you use power tools or brushes, look for low-noise options for a comfortable cleaning session.
- Energy and safety: Opt for water-based, non-flammable formulas and non-abrasive tools to protect stainless steel.
- Controls and ease of use: Simple spray bottles, brush sets, and microfiber cloths reduce fuss during cleaning.
- Placement and storage: A compact cleaning kit with a designated storage spot helps maintain readiness.
For best results, consider a comprehensive kit that combines a degreaser, dedicated cleaning brushes, and microfiber cloths. These elements work together to simplify the job and produce a consistent, professional-looking finish.