Brass cabinet hardware adds a warm, timeless touch to kitchens, bathrooms, and furniture. Over time, however, oils, fingerprints, and tarnish can dull that luster. This guide walks through practical, safe steps to restore brass hardware without damaging the finish or surrounding surfaces.
Readers will learn a clear process, the tools to gather, and common pitfalls to avoid. By following these steps, homeowners can refresh brass knobs, pulls, hinges, and escutcheons with confidence.
Quick Answer
Quick Method: Use a dedicated brass cleaner polish kit for cabinet hardware or a non-abrasive brass polish paste with a microfiber cloth for small touch-ups. For stubborn tarnish, apply brass tarnish remover for cabinet hardware, then buff with a brass cleaning brush set and microfiber cloth. Always rinse and dry thoroughly.
What You’ll Need
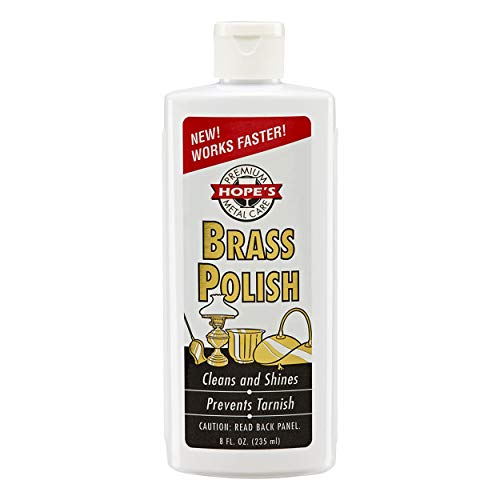
- Brass cleaner polish kit for cabinet hardware
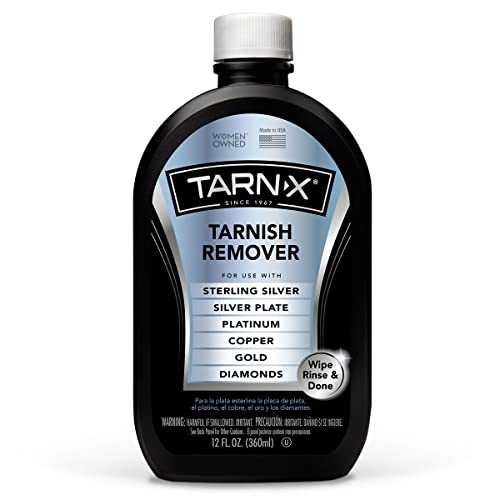
- Brass tarnish remover for cabinet hardware
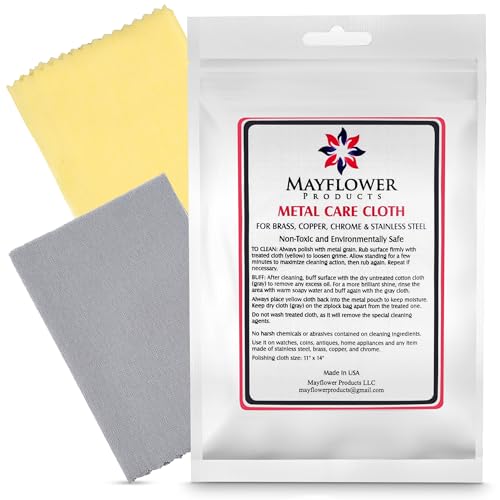
- Microfiber polishing cloth for brass hardware
- Brass cleaning brush set for cabinet hardware
- Non-abrasive brass polish paste for hardware
Before You Start
Prepare a small workspace with adequate ventilation. Remove hardware from doors or drawers if possible to avoid contact with cabinetry finishes. Protect surrounding surfaces with a soft cloth or painter’s tape. Time estimate: 15–45 minutes depending on tarnish level and the number of items. Important cautions: do not use acidic cleaners on lacquered brass, and avoid harsh abrasives that can scratch the surface.
Step-By-Step: How To Clean Brass Cabinet Hardware
- Disconnect hardware carefully and lay it on a soft towel to prevent scratches.
- Choose your cleaning method based on tarnish: light fingerprints use a brass cleaner; heavy tarnish uses brass tarnish remover.
- Apply a small amount of brass cleaner polish kit for cabinet hardware to a microfiber cloth and rub in small, circular motions.
- For tarnish removal, apply the brass tarnish remover to a brush or cloth and work gently along each piece, avoiding any painted or lacquered areas.
- Rinse the hardware with a damp cloth to remove residue (if the product instructions permit rinsing) and dry thoroughly with a clean microfiber cloth.
- For stubborn spots, use a brass cleaning brush set to gently scrub crevices, then wipe away loosened tarnish with a fresh cloth.
- If needed, apply a thin layer of non-abrasive brass polish paste and buff until a warm, even luster returns.
- Reassemble hardware onto cabinetry and tighten screws carefully to avoid damaging the surface.
- Perform a final wipe-down with a clean cloth to remove any fingerprints or residue.
- Inspect for uniform shine; repeat steps on any high-traffic areas if required.
Troubleshooting
| Symptom | Likely Cause | Fix | Prevention |
|---|---|---|---|
| Dull, uneven shine | Residue or poor buffing | Buff with microfiber cloth after polishing; reapply cleaner as needed | Use a clean cloth and follow product directions |
| Scratches or dull spots | Abrasion during cleaning | Switch to non-abrasive paste and soft brushes | Avoid metal brushes on delicate areas |
| Discoloration near edges | Exposed lacquer or protective coating | Limit cleaning to raised surfaces; test a hidden area first | Protect surrounding surfaces during cleaning |
| Residue after cleaning | Over-application of product | Wipe excess with a damp cloth and dry | Apply sparingly and follow label directions |
Common Mistakes
- Using abrasive pads or steel wool on brass hardware
- Letting cleaner sit too long on lacquered finishes
- Mixing cleaners with incompatible chemicals
- Cleaning while hardware is still installed and touching painted cabinetry
These missteps can damage the finish, create micro-scratches, or require refinishing work later.
Tips For Best Results
- Test any product on a small, inconspicuous area before full use.
- Work in the shade or a well-ventilated area to avoid inhaling fumes.
- Use a soft, lint-free microfiber cloth for final buffing to maximize shine.
- Store cleaning products in a cool, dry place and label bottles clearly.
- Schedule regular light cleaning to prevent heavy tarnish buildup.
Call A Professional
Seek professional help if brass hardware has deep pitting, extensive corrosion, or if the finish is lacquered and shows signs of wear that cleaners cannot safely repair. Stop cleaning and consult a refinishing expert if you notice peeling, chipping, or discoloration that extends beyond surface tarnish.
FAQ
Can I clean brass hardware without removing it from the cabinet?
Yes, but removing hardware can prevent splashes on surrounding surfaces and makes cleaning easier.
Will brass cleaners damage brushed or antique finishes?
Most products are safe when used as directed, but always test first on a hidden spot.
How often should brass cabinet hardware be cleaned?
Light cleaning every few weeks helps prevent heavy tarnish buildup; a deeper clean every few months is common.
Are there DIY alternatives to brass cleaner kits?
There are mild options, like a paste of baking soda and water, but results vary and safety is not guaranteed on all finishes.
Buying Guide
When selecting brass cleaning supplies for cabinet hardware, consumers should consider size, finish compatibility, and ease of use. Key buying factors include:
- Size and coverage: Choose products that suit the number of hardware pieces you own; larger bottles are cost-effective for many items.
- Finish compatibility: Verify compatibility with lacquered, antique, or brushed finishes to avoid dulling or discoloration.
- Noise levels and odors: Some cleaners emit strong fumes; look for low-odor formulas if the workspace is tight.
- Control and application: Brush sets, cloths, and paste types offer different levels of control for tight corners.
- Placement and storage: Keep cleaners away from heat sources and out of reach of children; store with caps tight to prevent spills.
- Multi-purpose vs. dedicated: A dedicated brass kit often yields better results on hardware specifically, though multipurpose cleaners can work for light maintenance.
Consider a kit that includes a brass cleaner polish, a tarnish remover for cabinet hardware, a non-abrasive brass polish paste, a microfiber cloth, and a small brush set for crevices. For best outcomes, follow the included instructions and test on a discreet area first.