Copper hardware adds distinctive warmth and character to doors, cabinets, screws, and fixtures. Proper cleaning restores shine without causing damage or removing desired patina. This guide covers practical, field-tested steps using common copper-friendly products and tools available in American households.
Quick Answer
Use a copper-safe cleaner or a mild paste, scrub with a soft cloth or brass brush, rinse with clean water, then buff dry with a microfiber cloth. For stubborn tarnish, apply an oxidation remover and repeat as needed. Always test on a small area first.
What You’ll Need
- copper hardware cleaner polish spray
- oxidation remover copper hardware
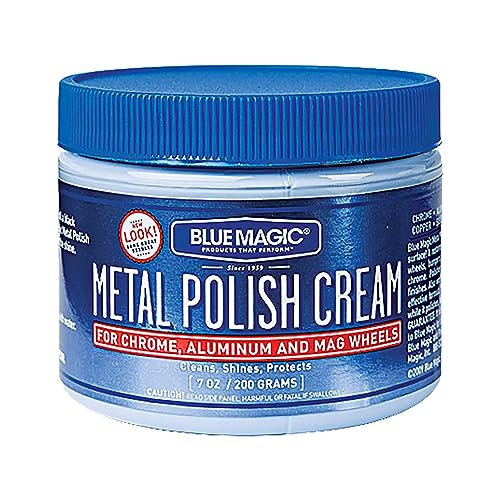
- copper patina remover paste copper fixtures
- microfiber polishing cloth copper hardware
- soft brass wire brush copper fittings cleaning


Before You Start
Inspect the hardware for finish type and mounting method. Some antique or sealed finishes may already be treated against cleaning products. Always test a hidden area first to prevent discoloration or removing patina you value. Work in a well-ventilated area and protect nearby surfaces with a drop cloth. Plan for a cleaning session that allows drying time between steps.
Step-By-Step: How To Clean Copper Hardware
- Remove the hardware if possible to simplify cleaning and protect surrounding surfaces.
- Wipe away loose dirt with a dry microfiber cloth to prevent scratching during cleaning.
- Apply a copper-friendly cleaner spray or paste to a soft cloth; avoid abrasive applicators on delicate finishes.
- Gently rub in small circles over the copper surface, focusing on tarnished areas. For tight spots, use a soft brass wire brush with light pressure.
- Rinse with clean water or wipe with a damp cloth to remove cleaner residue. Dry immediately with a clean microfiber cloth to prevent water spots.
- If tarnish persists, apply an oxidation remover copper hardware following product directions; allow to sit briefly then buff clean.
- Reassess shine and apply a protective finish if desired, especially on high-use hardware.
- Reinstall hardware and wipe any fingerprints or moisture from surrounding surfaces.
- For heavily patinated pieces, repeat steps 3–7 as needed, conserving patina you want to preserve.
Troubleshooting
| Symptom | Likely Cause | Fix | Prevention |
|---|---|---|---|
| Surface dulls after cleaning | Overly aggressive rubbing | Switch to softer cloth and lighter pressure | Use non-abrasive tools |
| Streaks or water spots | Residual cleaner or mineral deposits | Rinse thoroughly and dry completely | Wipe with a microfiber cloth after rinsing |
| Discoloration or blotching | Incompatible cleaner with finish | Test first; switch to milder product or patina-safe method | Follow manufacturer recommendations |
| Pitting or material loss | Excessive abrasion | Cease heavy scrubbing and consult a professional if needed | Use gentle brushes and non-acidic cleaners |
Common Mistakes
- Using abrasive pads or aggressive brushes on copper hardware
- Ignoring manufacturer finish recommendations or test spots
- Skipping thorough rinsing, leaving cleaner residues
- Cleaning patina-heavy pieces if the patina is intended to stay
These missteps can scratch surfaces, strip protective coatings, or unintentionally remove desirable patina.
Tips For Best Results
- Choose products labeled for copper or brass to minimize risk of damage
- Work in small sections to control tarnish and avoid over-wetting joints
- Buff with a microfiber cloth until surfaces dry and shine evenly
- For long-term protection, consider a clear wax or sealant appropriate for metal hardware
- Document the process on keepsakes to preserve patina where desired
Call A Professional
Consult a professional if hardware is manually mounted with hidden fasteners, has significant structural corrosion, or if tarnish covers brass or copper fittings in ways that cleaning cannot reverse. Stop cleaning if you notice flaking, deep pitting, or loosening screws. Seek expert help for restoration or re-sealing needs.
FAQ
Can I use lemon juice or vinegar to clean copper hardware?
These acids can work for light tarnish but may be too harsh on certain finishes; always test first and use milder, copper-safe products when in doubt.
Will cleaning copper hardware remove patina?
Some methods remove patina; if patina is desirable, choose milder cleaners or patina-preserving techniques.
How often should I clean copper hardware?
Frequency depends on exposure and use. Light cleaning every few months helps maintain shine; deeper restoration can be scheduled as needed.
Is polishing copper hardware safe for interior use?
Yes, when using non-abrasive, copper-safe products and following label instructions.
Buying Guide
Buying factors to consider when selecting copper cleaning products and tools for hardware restoration include size and coverage, compatibility with finishes, and ease of use. How much tarnish needs removal guides product choice between sprays, pastes, or liquid cleaners. Noise level and energy use are not primary concerns for cleaning tasks but consider hand tools that require less effort for repetitive work. Look for products labeled for copper or brass, and ensure they are safe for plated or treated surfaces. Placement matters: choose products with minimal odor and safe ventilation for indoor use. When comparing options, consider a kit that combines a cleaner, a patina remover, a microfiber cloth, and a soft brush to cover all cleaning scenarios. Do you prefer a ready-to-use spray or a paste that you can customize for stubborn spots? Keep a flexible approach to achieve the best results on various hardware surfaces.