Stained wooden tables can dull dining rooms and home offices alike. This guide provides practical, step-by-step methods to remove common stains from wood surfaces while preserving natural grain and finish. By following a careful routine with the right products, homeowners can restore luster without harming the wood.
Whether the stain is from spills, heat, or everyday wear, the methods below emphasize safety, efficiency, and long-term upkeep. The steps combine gentle cleaners, targeted stain removal, and protective polish to extend the life of the table.
Quick Answer
Identify the stain type, apply a suitable cleaner or remover, gently sand if needed, then seal with a furniture polish. For stubborn marks, repeat with a dedicated stain remover and finish with a protective coat.
What You’ll Need
- wood stain remover for furniture on stained table
- oak wood cleaner and stain remover spray
- furniture sanding block 120 grit for table refinishing
- microfiber cloth for wood furniture cleaning and polishing
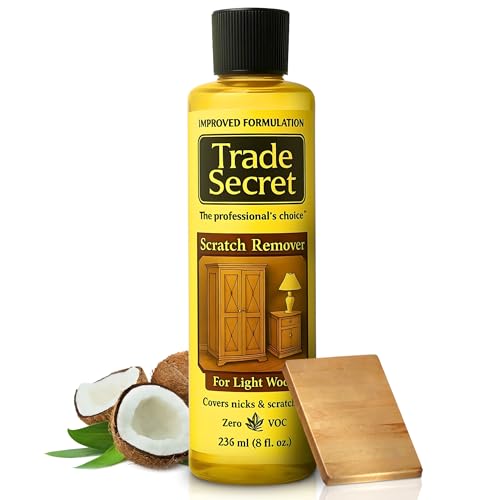
- wood furniture polish restorer with stain treatment


Before You Start
Assess the table finish: a repair that works on bare wood may harm a sealed surface. Always test cleaners in an inconspicuous spot first. Work in a well-ventilated area and use gloves to protect skin. Remove all objects from the table and cover nearby surfaces to guard against spills. Time estimates vary from 30 minutes for light stains to several hours for deeper refinishing.
Critical cautions:
– Do not use harsh bleach or ammonia on finished wood, as it can damage color and texture.
– Avoid excessive water; moisture can warp wood.
– Sanding should be gentle and limited to affected areas to prevent uneven tones.
Step-By-Step: How To Clean A Wooden Table With Stains
- Clear the surface and wipe away loose debris with a microfiber cloth for wood furniture cleaning and polishing.
- Test a small, hidden area with oak wood cleaner and stain remover spray to verify color stability.
- For light food and beverage stains, apply a small amount of wood stain remover for furniture on stained table to the stain and rub with the microfiber cloth in the direction of the grain.
- For water rings or heat marks, dampen the cloth slightly and rub in a circular motion over the affected area, then dry promptly.
- If stains persist, apply a thin layer of wood furniture polish restorer with stain treatment and buff gently with a clean cloth until the surface shines.
- For deep or multiple layers of stain, use a furniture sanding block 120 grit to lightly sand the affected area, then re-apply remover and finish.
- Wipe away residue and let the surface dry completely before applying a final coat of polish or restorer.
- Apply a protective coat of the restorer or polish, following product directions, to seal in the repair and improve resistance to future stains.
- Reassess the finish after 24 hours and address any remaining issues with a repeat of the process if needed.
- Maintain the repaired surface with regular dusting and periodic polishing to prevent future staining.
- Document spots that recur and consider placing protective pads under hot dishes or glasses to limit future damage.
Troubleshooting
| Symptom | Likely Cause | Fix | Prevention |
|---|---|---|---|
| Stain reappears after cleaning | Sugar or oil-based stains penetrated finish | Repeat cleaner and consider sanding lightly, then reseal | Use coasters and wipe spills immediately |
| Finish dulled after cleaning | Over-wetting or harsh chemical | Use minimal moisture, switch to milder cleaner | Test products first in hidden area |
| Water rings persist | Moisture trapped under finish | Gently sand and reapply finish/ polish | Use blotting and coasters |
| Uneven color after refinishing | Inconsistent grain or sanding pressure | Sand evenly with 120 grit, then re-stain | Follow grain direction and use a restorer |
Common Mistakes
- Using heavy solvents on sealed finishes which can strip color
- Over-saturating wood with water or moisture
- Skipping a test patch and applying products broadly
- Sanding too aggressively, causing noticeable patches
- Neglecting to seal or protect the surface after cleaning
Tips For Best Results
- Always work in the grain direction to avoid scratches appearing in the wrong path.
- Choose cleaners that specify compatibility with your wood finish (polyurethane, varnish, shellac, etc.).
- Use a high-quality microfiber cloth to minimize lint and scratches during polishing.
- Maintain a regular cleaning routine to prevent buildup that can lead to stains.
- Protect high-use areas with soft pads or inlays to reduce future staining risk.
Call A Professional
When stains cover a large surface, the finish is peeling, or the wood shows deep discoloration, consider a professional refinisher. Stop signs include persistent darkening after multiple cleanings, unusual odors from finishes, or cracks that extend beyond the surface. A pro can assess whether refinishing or a full restoration is required.
FAQ
Can I use household cleaners on stained wood?
Use cleaners labeled for wood furniture and test in a hidden area first to avoid damage.
Is sanding always required for deep stains?
No, but light sanding may be needed if stain penetrates the finish; proceed cautiously.
What finish options work best after cleaning?
Choose a finish that matches the original (polyurethane, polyurethane satin, or lacquer) for a seamless look.
How long should I wait after polishing before using the table?
Allow the surface to cure for at least several hours, preferably overnight, before placing items on it.
Buying Guide
When selecting products to clean and restore a stained wooden table, consider size, finish type, and the nature of stains. Key buying factors include:
- Size and coverage: Choose products with clear coverage guidance to handle the table surface evenly.
- Noise level: Cleaning tools like polishers should be low-noise for indoor use.
- Energy efficiency: Manual polishing and cleaning require minimal energy; powered tools should be energy-conscious.
- Controls and ease of use: Spray bottles and wipes should offer precise, controlled application.
- Placement: Keep cleaners in a dry, ventilated area away from heat and children.
For a practical approach, match products to the stain type and wood finish. A spray stain remover is convenient for spot cleaning, while a sanding block is reserved for deeper refinishing. Pair with a microfiber cloth for safe, controlled cleaning and a compatible polish to seal the surface. By selecting the right combination, most stains can be removed without compromising wood integrity.