Stove vents and range hoods accumulate grease and dust over time, impacting airflow and air quality. A regular cleaning routine keeps them operating efficiently and reduces fire risk. This guide provides practical steps, safe products, and pro tips to restore a stove vent to peak performance.
Quick Answer
Remove the vent cover, apply a degreaser, scrub with a long-handled brush, rinse, and dry before reassembling. For stubborn grime, use a scraper or extension wand to reach deep inside the duct, and run the fan on high for a few minutes to dry and test airflow.
What You’ll Need
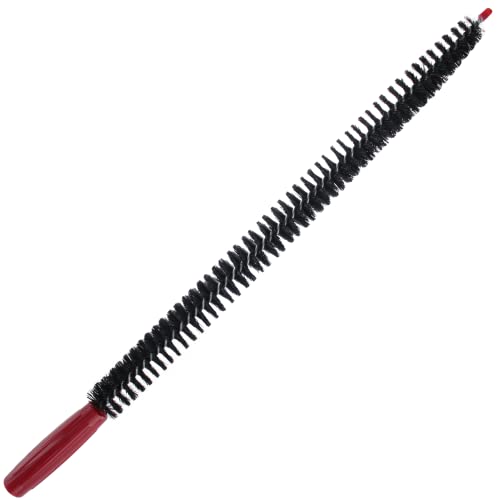
- Stove vent cleaning brush long handle
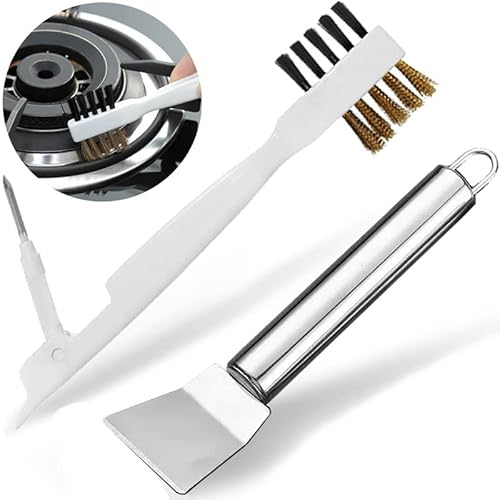
- Range hood cleaning brush kit stainless steel
- Range hood filter cleaning kit with scraper
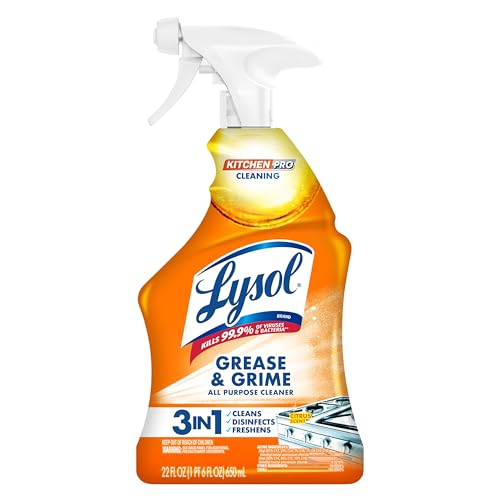
- Stove vent degreaser spray
- Extending wand cleaning tool for stove vent
Before You Start
Prepare the area by laying down protective sheets to catch drips. Turn off the range and unplug nearby appliances if feasible. Wear gloves and safety glasses to protect hands and eyes from hot surfaces and chemical splashes. Time estimates vary by vent size: plan 30–60 minutes for a standard hood, up to 2 hours for heavy buildup. Important cautions: never spray degreaser directly onto electrical components; avoid steam cleaners on electrical parts; ensure all pieces are fully dry before reassembly.
Step-By-Step: How To Clean Stove Vents
- Remove the vent cover and filters — carefully detach any removable metal shields, baffles, and filters from the hood to expose the fan and ductwork.
- Apply degreaser — spray a liberal coating of stove vent degreaser spray onto the interior surfaces of the hood and filter area. Let it dwell for 5–10 minutes to break down grease.
- Scrub with a long-handled brush — use the stove vent cleaning brush long handle to scrub the interior surfaces, paying attention to corners and the fan’s blades if visible.
- Use a scraper for stubborn grime — for caked-on grease, employ the range hood filter cleaning kit with scraper to lift the residue without gouging metal.
- Rinse and wipe down — wipe away loosened grease with damp microfiber cloths. Rinse the cloths frequently and repeat until surfaces look clean.
- Clean the filters separately — soak metal filters in warm soapy water or a dedicated range hood filter cleaning kit. Scrub with the brush kit and rinse thoroughly before air-drying.
- Deep-clean hard-to-reach areas — use the extending wand cleaning tool for stove vent to reach the duct interior and any inaccessible nooks. A final wipe helps remove remaining residue.
- Inspect the fan and joints — check for loose screws, torn seals, or corrosion. Tighten hardware as needed and replace damaged parts.
- Dry completely — allow all components to air-dry or wipe with a dry microfiber cloth. Moisture can encourage mold or odors if left unresolved.
- Reassemble and test — once everything is dry, reattach the filters and vent cover. Turn on the hood at medium speed to verify airflow and listen for unusual noises.
- Schedule regular upkeep — establish a routine, with light cleaning monthly and deep cleans every 3–6 months depending on cooking frequency and grease level.
Troubleshooting
| Symptom | Likely Cause | Fix | Prevention |
|---|---|---|---|
| Weak airflow after cleaning | Clogged duct or fan | Inspect duct path, clean via extending wand, and remove any remaining grease | Clean regularly; avoid cooking methods that produce excessive grease |
| Unusual noises when fan runs | Loose components or debris in the fan | Tighten screws; remove debris from blades | Keep filters clean; don’t over-tighten hardware |
| Persistent odor | Grease buildup in duct or filters | Deep clean filters and internal surfaces; consider replacing old filters | Clean after heavy cooking; use vent or range hood during cooking |
| Sprayer or spray wand not functioning | Blockage or chemical failure | Rinse tool thoroughly; replace spray nozzle if needed | Rinse well after use; store away from heat |
Common Mistakes
- Using abrasive tools on delicate finishes that damage the hood
- Overlooking filters and missing grease buildup in the duct
- Not drying components fully, which can lead to rust or mold
- Spraying degreaser directly onto electrical components
- Skipping safety precautions and wearing improper protective gear
Tips For Best Results
- Choose a degreaser spray formulated for kitchen hoods to avoid damaging finishes
- Work in a well-ventilated area to minimize chemical odors
- Keep a dedicated cleaning kit for vent hardware to avoid cross-contamination with cookware
- Schedule maintenance after a few weeks of heavy cooking to prevent buildup
- Label and organize tools so future cleanings are faster and safer
Call A Professional
Consider a pro if any of the following apply: persistent grease buildup that won’t rinse away, damaged ductwork or fan blades, electrical components exposed or compromised, or if the hood is hardwired and access requires specialized safety precautions. If you notice sparking, overheating, or unusual sounds that suggest electrical risk, stop using the hood and call a licensed technician.
FAQ
How often should I clean my stove vent?
For most households, a light clean every 1–2 months and a deep clean every 3–6 months is sufficient, depending on cooking frequency and grease output.
Can I clean a vent without removing the hood?
Yes, you can clean exterior surfaces and removable filters while the hood is in place; use extendable tools to reach inner areas when possible.
What’s the safest degreaser for stove vents?
Choose a degreaser labeled safe for kitchen appliances and stainless steel; never use bleach or highly caustic cleaners on metal finishes.
Do I need to replace stove vent filters regularly?
Yes, replace or deep-clean filters according to usage; oily, worn, or torn filters reduce efficiency and can harbor odors.
Buying Guide
When selecting cleaning tools and products for stove vents, consider size, compatibility, and ease of use. Here are key factors to evaluate:
- <bSize and fit: Hood dimensions determine filter size and tool reach. Ensure tools extend far enough to access inner corners without moving heavy equipment.
- <bNoise level: Some range hood brushes and tools operate quietly; if used near bedrooms, consider models with low-noise operation and comfortable handles.
- <bEnergy efficiency: While manual cleaning uses no energy, electric parts like the fan should be inspected for efficiency during operation to avoid excessive running times.
- <bControls and compatibility: Choose degreasers and brushes that work with stainless steel and do not corrode finishes. Look for gentle scrubbing tools for delicate surfaces.
- <bPlacement and accessibility: For wall-mounted vs. island hoods, ensure extension tools provide full access to tight spaces without disassembly.
- <bMaintenance frequency: Plan a routine based on cooking style; heavier cooks benefit from more frequent filter cleaning and vent scrubs.
- <bSafety features: Use protective gloves and eye protection; verify power is off when cleaning electrical components or removing the hood.
- <bCost of consumables: Consider the longevity and reusability of brushes and scrapers; replace disposable components as needed to maintain effectiveness.
Choosing the right kit often means balancing reach, material durability, and ease of use. If in doubt, start with a stainless steel kit and a reliable degreaser, then expand with an extending wand or scraper for tough residues. A well-chosen set reduces cleaning time and helps keep the kitchen environment safer and fresher.