Keeping an oven hood filter clean is essential for efficient ventilation and reducing grease buildup in the kitchen. Regular maintenance helps extend the life of the vent system and keeps the cooking area smelling fresh. This guide provides practical, step-by-step técnicas for American homes, using common tools and widely available products.
Quick Answer
Remove the filter, scrub with a degreasing solution, rinse, dry completely, and reinstall. For heavy grime, soak the filter in warm soapy water or a dedicated degreaser, then scrub with a stiff brush before rinsing.
What You’ll Need
Gather these items to complete the cleaning smoothly. The following list includes commonly available tools and products:
- Oven hood filter cleaning brush
- Stainless steel vent hood filter scrub brush
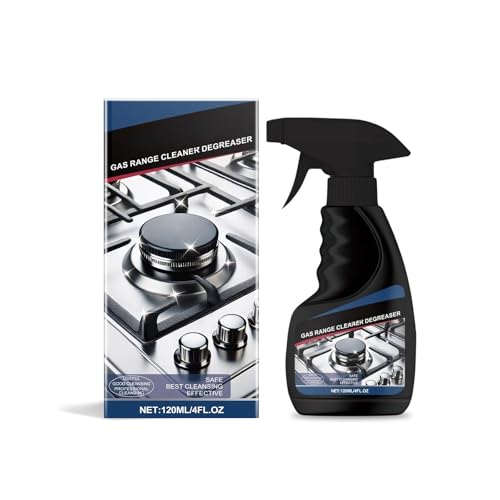
- Range hood filter degreaser spray
- Replacement range hood filter 4×10 inch (if replacement is desired)
- Range hood cleaning kit


Before You Start
Prepare the area by laying towels or old newspapers to catch splashes. Ensure the appliance is cool before handling. Remove the filter from the hood and inspect for warping or damage. If the hood is vented outdoors, place a tray to catch any rinse water. Use gloves and ventilate the area when using chemical degreasers. Time estimate: 20–40 minutes for a typical single filter; longer for multiple filters.
Step-By-Step: How To Clean Oven Hood Filter
- Turn off the range hood and unplug nearby outlets if possible, then open the cabinet or canopy to access the filter.
- Remove the filter using the frame handles or gently prying with a plastic tool, taking care not to bend the metal.
- Assess grime: light film can be cleaned with warm water and mild dish soap; heavy grease may require a degreaser spray.
- Apply a generous amount of range hood degreaser spray or a soapy soak to the filter, focusing on corners where grease collects.
- Let the degreaser sit for 5–10 minutes to break down oils, then scrub with an oven hood filter cleaning brush or stainless steel vent hood filter scrub brush.
- Rinse thoroughly under warm running water, ensuring all soap and degreaser are removed.
- Dry with a clean towel or air-dry completely before reinstalling to prevent rust or mold.
- Inspect for any remaining residue; if stubborn spots persist, repeat the soak and scrub steps or replace the filter with a replacement range hood filter 4×10 inch if needed.
- Reinstall the filter securely and test the hood to confirm proper operation and airflow.
- Wipe down the exterior of the hood to remove any splatter and restore a clean appearance.
- Schedule regular cleaning every 1–3 months depending on cooking frequency and grease load.
Troubleshooting
| Symptom | Likely Cause | Fix | Prevention |
|---|---|---|---|
| Filter still greasy after wash | Grease buildup is too thick or soaked into fibers | Soak longer in degreaser; consider a replacement filter 4×10 inch | Clean more frequently to prevent heavy buildup |
| Filter is warped or damaged | Over-tightening during reinstall or aggressive scrubbing | Replace with a new replacement range hood filter 4×10 inch | Handle carefully and avoid bending the frame |
| Weak airflow after cleaning | Residue left on filter or wrong size filter installed | Rinse thoroughly and verify the correct filter size is in use | Always dry completely before reinstalling |
Common Mistakes
- Using abrasive scrubbers that scratch stainless steel surfaces
- Letting the filter soak too long in harsh chemicals without rinsing
- Forgetting to dry the filter fully, which can promote rust
- Ignoring manufacturer recommendations for filter size and replacement intervals
Tips For Best Results
- Use a dedicated degreaser spray designed for kitchen hoods to cut through tough oils quickly.
- Match the scrub brush to the filter type: a stiff-bristled brush works well on metal filters without bending the frame.
- Warm water helps dissolve grease; avoid hot water that could warp certain plastics or seals.
- Keep a spare replacement range hood filter 4×10 inch on hand for quick swaps when needed.
- Document cleaning dates to establish a consistent maintenance schedule.
Call A Professional
Consult a professional if the hood emits odd noises, shows persistent mold, or the filter frame is severely warped. Seek a pro for electrical inspections or if you notice gas odors near the hood area. Do not attempt disassembly beyond standard maintenance if the unit is under warranty, as this can void coverage.
FAQ
How often should I clean an oven hood filter?
Most households benefit from cleaning every 1–3 months, or sooner with frequent cooking and high grease use.
Can I wash the filter in a dishwasher?
Check the manufacturer’s guidance; some metal filters are dishwasher-safe, while others may become damaged.
What if the filter doesn’t fit after cleaning?
Verify the exact model and size; consider replacing with a replacement range hood filter 4×10 inch if the frame is bent or damaged.
Is a degreaser spray necessary?
A degreaser helps break down oil quickly, especially on heavy buildup; mild soap alone may suffice for light grime.
Should I remove the hood during cleaning?
Remove the filter only; cleaning the hood surface can be done with a gentle cleaner on a soft cloth.
What’s the best way to dry the filter?
Air-dry fully or dry with a clean towel before reinstalling to prevent rust or odor.
Do replacement filters require special installation?
Yes, ensure the correct size (such as 4×10 inch) and orientation to maximize airflow and filtration.
Buying Guide
When selecting oven hood filters and cleaning supplies, consider factors such as size, noise level of the cleaning process, energy efficiency of the hood system, and control options for maintenance routines. Compare filtration quality, ease of installation, and compatibility with existing vent hood models. For households with frequent heavy cooking, a robust replacement range hood filter 4×10 inch may save time and reduce ongoing maintenance. A comprehensive range hood cleaning kit can streamline routine tasks and help maintain consistent performance. Thinking about long-term upkeep, choose products that fit your hood’s model and kitchen workflow, and keep a few accessories on hand for quick, effective cleanings.