Peel and stick wallpaper can transform a room, but it only looks flawless if the wall surface is properly prepared. Dirt, dust, and grease can cause the wallpaper to fail to adhere or peel later. This guide provides a practical, step‑by‑step method to clean walls effectively before installation, using common cleaning tools and safe techniques for painted and lightly textured surfaces.
Quick Answer
Start by removing loose dust with a dry cloth, then wash walls with a mild solution and rinse. Allow walls to dry completely before applying peel and stick wallpaper. For best results, use non‑abrasive tools and test a small area first.
What You’ll Need
- Microfiber wall cleaning cloths set – to lift dust without scratching
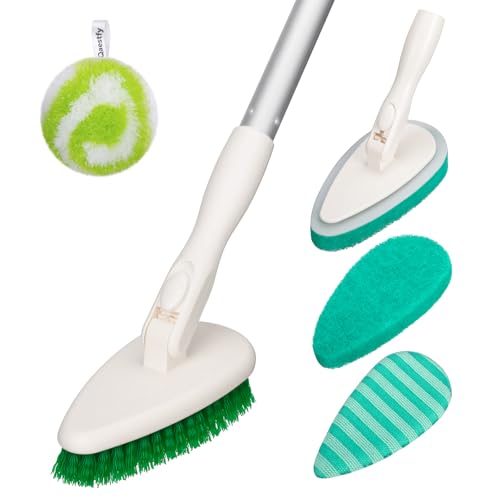
- Soft bristle scrub brush for wall cleaning – for stubborn spots
- Non-scratch sponge for wall cleaning – gentle scrubbing on paint and gloss surfaces
- Bucket with wringer for cleaning walls – convenient for rinsing
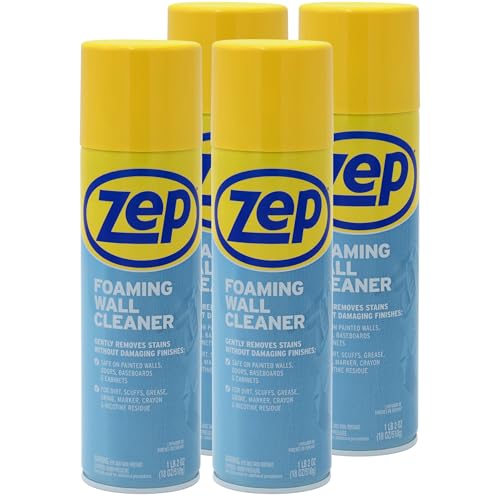
- Spray bottle for wall cleaner and prep – apply cleaning solution evenly

Before You Start
Gather all tools and ensure the room is well ventilated. Remove picture frames, outlet covers, and switch plates to prevent moisture damage. Protect floors with drop cloths. Avoid using harsh solvents or abrasive pads, as these can dull paint and leave marks that affect wallpaper adhesion. Plan for time: surface prep typically takes 30–60 minutes plus drying time, depending on room size and humidity.
Step-By-Step: How To Clean Walls For Peel And Stick Wallpaper
- Detach loose items from walls and dust the surface with a microfiber cloth to remove cobwebs and fine dust.
- Fill a spray bottle with a mild cleaning solution (a few drops of dish soap per quart of warm water) and mist a small area.
- Wipe the area with a microfiber cloth in a downward motion to lift grime without saturating the wall.
- For sticky spots, use a soft bristle scrub brush gently to loosen residue, then wipe with a cloth.
- Rinse the cloth or sponge and go over the wall with clean water to remove soap film.
- Use a non-scratch sponge on glossy paint or slick surfaces to avoid scratches.
- Repeat cleaning in sections until the wall is free of dirt and grease.
- Allow walls to air dry completely or speed drying with fans. Do not touch or apply wallpaper until fully dry.
- Inspect for remaining stains; treat persistent marks with a tiny amount of cleaner and re‑wipe.
- Recheck general cleanliness and dryness before starting wallpaper installation.
Troubleshooting
| Symptom | Likely Cause | Fix | Prevention |
|---|---|---|---|
| Adhesion fails in patches | Grease left on wall | Re-clean, focusing on patches; ensure dryness | Spot test and pre-clean all areas |
| Wallpaper peels after a day | Wall moisture or high humidity | Re-clean and dry thoroughly; use dehumidifier | Install in dry conditions |
| Dirty streaks under wallpaper edge | Soap residue | Rinse walls again and dry completely | Gentle cleaning with minimal soap |
| Streaks on matte paint | Over-wetting | Wipe with a barely damp cloth, dry | Limit moisture and test first |
Common Mistakes
- Using hot water on delicate or matte finishes, which can lift or dull paint
- Over-wetting walls, leaving excess moisture before wallpapering
- Skipping a test patch to check paint compatibility with cleaners
- Rubbing aggressively, causing micro-scratches that hinder adhesion
Tips For Best Results
- Always test cleaner on a small, inconspicuous area first
- Work in sections to avoid drying soap film on walls
- Ventilate the room to speed up drying time
- Use a clean, dry cloth for the final wipe to remove any remaining moisture
- Check for wall texture that may trap dust; lightly dusted surfaces adhere better
Call A Professional
Seek professional help if walls show signs of dampness, extensive staining that requires specialized cleaners, or uneven textures that could affect wallpaper adhesion. Stop proceed if paint is flaking, mold is present, or there are structural issues that cause ongoing moisture problems.
FAQ
Can I use vinegar to clean walls before wallpaper?
Vinegar can be effective for light cleaning, but test first on a hidden area to ensure it does not affect paint color or finish.
Is warm water better than cold for cleaning walls?
Warm water helps dissolve grease and grime more effectively but avoid hot water that can damage certain paints or finishes.
How long should walls dry before applying peel and stick wallpaper?
Let walls dry completely, typically 1–4 hours depending on humidity and ventilation.
What if walls are very dusty or textured?
Dust thoroughly with microfiber cloths, then use a soft brush to reach textured areas before cleaning with spray solution.
Should I remove outlet covers before cleaning?
Yes, remove covers to clean evenly and prevent moisture from entering electrical boxes.
Do I need a dedicated wall cleaner?
A mild soap solution works in most cases; ensure it rinses clean and dries fully.
Is it safe to use a scrub brush on painted walls?
Yes, if the brush is soft and used gently on flat or lightly textured paint surfaces.
Buying Guide
When selecting tools for cleaning walls before applying peel and stick wallpaper, consider size, surface type, and ease of use. Look for kits or bundles that include microfiber cloths, non‑abrasive sponges, and a spray bottle, as these cover most prep tasks without damaging walls. Noise, weight, and ergonomics matter for prolonged cleaning sessions. For larger rooms, a bucket with wringer saves trips to refill. Pay attention to surface compatibility: glossy, semi‑gloss, and satin finishes may respond differently to cleaners than matte paints.