Removing stray polish around nails can be quick and comfortable with the right tools and technique. This guide walks through safe, precise cleanup methods that protect skin and cuticles while keeping nails looking neat.
Quick Answer
Use a precision tool to apply remover exactly where needed, then gently wipe away excess polish. For stubborn spots, switch to a fine-tip remover pen or a curved-tip wipe, and finish with a dry cotton or microfiber pad to prevent smudges.
What You’ll Need
- nail art clean-up brush precision tip
- nail polish remover pen fine tip
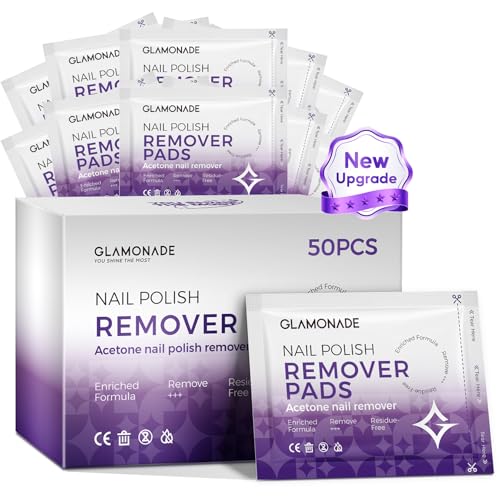
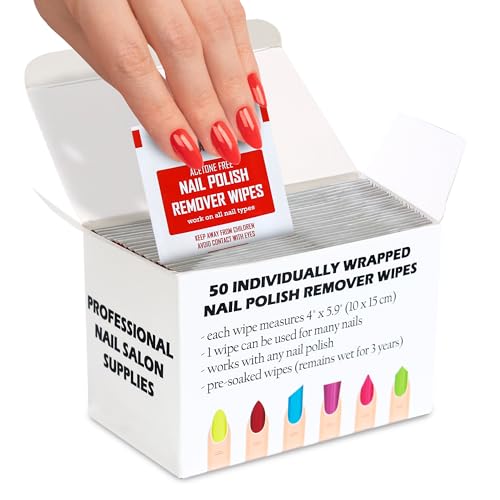
- acetone nail polish remover wipes with precision applicator
- microfiber nail polish remover wipe with curved tip
- cuticle cleanup tool with angled brush

Before You Start
Prepare a clean, well-lit workspace and protect surfaces with a towel or sheet. Remove any excess polish from the brush to prevent new spills. Wear minimal skin contact with acetone or solvents, as they can temporarily dry the skin. Allow nails to dry completely before applying top coat again, and work slowly to avoid lifting the polish from the nail edge. Time to complete cleanup typically ranges from 5 to 15 minutes per hand, depending on polish thickness and neatening requirements.
Step-By-Step: How To Clean Up Nail Polish Around Nails
- Prepare tools: Uncap the remover pen and ensure the precision brush is clean and dry.
- Identify stray areas: Focus on the skin around the nail plate, especially skin folds and cuticle margins.
- Dip or apply precisely: Use the nail polish remover pen fine tip to dab the stray polish along the edge in short, controlled strokes.
- Line-by-line refinement: For stubborn spots, switch to the nail art clean-up brush precision tip or cuticle cleanup tool with angled brush and gently guide edges back to clean skin.
- Wipe away excess: Use a microfiber nail polish remover wipe with curved tip to lift softened polish from the surrounding skin without rubbing the nail surface.
- Check both hands: Reassess for any remaining smudges; repeat the precise application and wiping steps as needed.
- Blot and dry: Tap or lightly blot the cleanup area with a dry pad to remove residual solvent and prevent smearing.
- Final touch: If desired, apply a thin layer of top coat after cleanup to seal the nail edge and prevent chipping near the skin.
- Dispose of waste: Safely discard used wipes and cotton if used, and reseal the remover pen after use for next time.
- Healthy skin note: If any irritation occurs, rinse with cool water and moisturize the area.
- Optional routine: For frequent cleanup, keep a dedicated kit with precision tools and wipes for quick touch-ups between manicures.
Troubleshooting
| Symptom | Likely Cause | Fix | Prevention |
|---|---|---|---|
| Polish dries too quickly and tears at edges | Overworked edge or insufficient solvent | Moisten a fresh wipe or pen tip and re-soften edge before cleaning | Work in small sections; avoid over-wiping |
| Streaks or patches remain on skin | Polish pigment or insufficient solvent | Switch to acetone-based remover and precise tools | Use fresh wipes; don’t reuse dry wipes on skin |
| Polish lifts from nail surface | Over-cleaning or rubbing | Pause, reapply a tiny amount with precision tool and clean only skin | Keep strokes light and targeted |
| Skin irritation after cleanup | Solvent sensitivity | Rinse area with water and apply gentle moisturizer | Limit acetone exposure; consider gentler removers |
Common Mistakes
- Using broad swipes around the cuticle instead of precise taps and lines
- Forgetting to dry the area before applying top coat, which can trap moisture
- Rubbing excess product into the skin, causing irritation or dryness
- Neglecting to wipe away residue from tools after use, transferring pigment
Tips For Best Results
- Keep a dedicated cleanup kit with a nail polish remover pen fine tip and nail art clean-up brush precision tip for quick corrections
- Work in a well-lit area to see small smudges clearly
- Use acetone wipes sparingly on sensitive skin and consider non-acetone options if irritation occurs
- Allow a brief rest period after cleanup before applying any top coat to avoid lifting
- Store tools clean and dry to maintain precision and prevent rust or buildup
Call A Professional
If skin shows persistent irritation, if polish consistently chips after cleanup, or if the cuticles appear damaged, consider consulting a dermatologist or licensed nail technician. Seek professional help promptly for signs of allergic reactions or chemical burns.
FAQ
Can I clean up nail polish without damaging the nail?
Yes. Use precision tools and gentle motions near the cuticle to avoid lifting the polish or harming the nail plate.
What’s the best tool for cleanup around the nail?
A combination of a nail art clean-up brush precision tip and a cuticle cleanup tool with angled brush provides control for most edges.
Is acetone safe for cleanup?
Acetone is effective but can be drying; use it sparingly and on skin only where needed. Consider non-acetone options if sensitivity occurs.
How long does cleanup typically take?
Most cleanups finish in 5 to 15 minutes per hand, depending on polish complexity and practice level.
Should I moisturize after cleanup?
Yes, applying a light moisturizer to surrounding skin helps restore moisture after solvent exposure.
Buying Guide
When choosing cleanup tools, consider size, precision, and surface compatibility. Look for fine-tip brushes and pens that offer tight control around the nail edge. Noise level and energy use aren’t major factors for manual tools, but ease of use matters. Consider a small kit with a nail polish remover pen fine tip and acetone nail polish remover wipes with precision applicator for portability. Placement should allow you to set up a comfortable workflow on a flat surface with good lighting. Compare sets that include multiple tip styles to adapt to different cleanup scenarios, ensuring you have curved-tip wipes or angled brushes for tricky curved nail beds. If you frequently correct errors between steps of a manicure, a dedicated precision kit can save time and reduce waste.