The KitchenAid ice maker is a convenient feature in many kitchens, but like all appliances, it benefits from regular cleaning to prevent mineral buildup, odors, and reliability issues. This guide provides a practical, step-by-step approach using common cleaning products and KitchenAid-specific tools.
Quick Answer
To clean a KitchenAid ice maker, unplug the unit, remove ice and any bins, flush with warm water, apply an approved cleaner or descaler, rinse thoroughly, and allow the system to dry before returning ice production to normal.
What You’ll Need
- KitchenAid ice maker cleaning kit
- ice maker cleaning brush for KitchenAid
- ice machine descaler for KitchenAid refrigerator
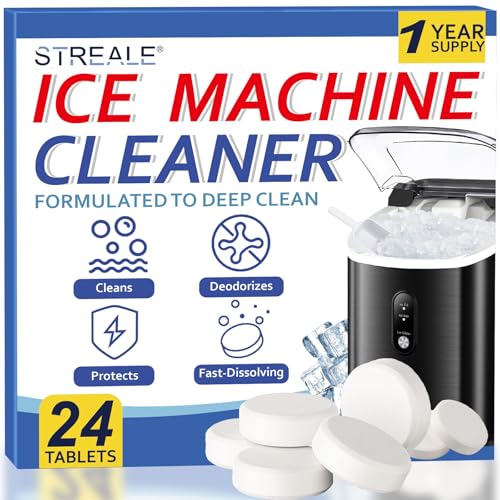
- automatic ice maker cleaner tablets
- appliance cleaning spray for ice maker and bin


Before You Start
Ensure safety by unplugging the refrigerator or turning off the ice maker supply. Remove all ice to prevent contamination and place towels to catch any spills. Work in a well-lit area and follow product labels. Do not mix cleaners or use abrasive tools, as this can damage surfaces. Time estimate: 30–60 minutes depending on model and accessibility.
Step-By-Step: How To Clean A KitchenAid Ice Maker
- Turn off and unplug the unit, then remove the ice bin and any removable parts.
- Empty existing ice into a safe container and set the bin aside.
- Use a soft brush to remove loose debris from ice maker rails and cavities.
- Prepare the cleaning solution per the product instructions (for example, dissolve automatic ice maker cleaner tablets or use the descaler as directed).
- Apply the cleaner to the ice maker interior, focusing on the water reservoir, auger area, and ice bin contact surfaces.
- Rinse thoroughly with warm water by flushing through the intake lines and ejector area to remove all cleaner residues.
- Run a cycle of clean water through the system or wipe surfaces with a damp cloth, then rinse again if needed.
- Wipe dry with a clean cloth, replace the ice bin, reconnect power, and run a test cycle to ensure clean ice is produced.
- Discard the first batch of ice after cleaning to ensure any residual cleaner is removed from the system.
- Store tools and leftover cleaners properly and return the ice maker to normal operation.
Troubleshooting
| Symptom | Likely Cause | Fix | Prevention |
|---|---|---|---|
| Icy or cloudy ice | Mineral buildup or stale water | Clean with descaler and run multiple rinse cycles | Regularly schedule cleaning every 3–6 months |
| Unpleasant odor | Residual cleaning agents or mold | Thorough rinse and wipe; re-clean with fresh water | Keep bins dry and clean between uses |
| Ice maker stops producing | Clog or incorrect water flow | Disassemble and flush lines; check water supply | Inspect water line for kinks or blockages |
| Weak ice or irregular shapes | Partial cleaning or mineral buildup | Deep clean with descaler and repeat cycles | Use approved cleaners only |
Common Mistakes
- Using harsh abrasive cleaners that scratch plastic components
- Not thoroughly rinsing the system, leaving chemical residues
- Forgetting to discard the first post-clean ice batch
- Neglecting to unplug or turn off the ice maker before cleaning
Tips For Best Results
- Follow product instructions for dilution ratios and contact times to maximize cleaning efficacy.
- Use a dedicated ice maker cleaning brush to reach narrow passages without damaging parts.
- Schedule cleaning at regular intervals to prevent mineral buildup and odor formation.
- Label cleaning days on the calendar to maintain a consistent maintenance routine.
Call A Professional
Contact a professional if you notice persistent issues after cleaning, such as continual clogs, persistent odors, or strange noises during operation. Seek help if the ice maker fails to resume normal production after multiple clean cycles, or if you observe corrosion or leaks in the system.
FAQ
What cleaner should I use for KitchenAid ice makers?
Use a product labeled for ice maker cleaning or a descaler designed for KitchenAid appliances, following the manufacturer’s instructions.
How often should I clean the KitchenAid ice maker?
Most users benefit from cleaning every 3–6 months, or sooner if mineral buildup is visible or odors develop.
Can I run a cleaning cycle with the bin installed?
Remove the ice bin during cleaning; reassemble only after the system is thoroughly rinsed and dry.
Is it okay to use regular household cleaners?
No. Use specifically formulated ice maker cleaners or descalers to avoid damage to plastic components and safety concerns.
What should I do with the first ice after cleaning?
Discard the first batch of ice to ensure any residual cleaner is removed from the ice production cycle.
Will cleaning affect ice production?
Normal cleaning routines may temporarily pause ice production; resume after thorough rinsing and drying.
Buying Guide
When selecting products to clean a KitchenAid ice maker, consider size and compatibility, ease of use, and whether the kit covers brushes, tablets, and descalers. Look for a comprehensive kit that includes a dedicated ice maker cleaning brush and clear, labeled instructions. Compare options based on how well they fit KitchenAid models and whether they include a descaler suitable for refrigerator ice machines. Consider whether you prefer a spray versus a tablet-based approach and ensure availability of replacement parts or refills. A good kit should simplify the cleaning process while minimizing exposure to cleaning chemicals.